What’s In This Guide
- What Happens Before the Roofing Crew Arrives at Your Home?
- What Are the Steps in a Roof Replacement?
- How Long Does a Roof Replacement Take in the Hudson Valley?
- When Is the Best Time of Year to Replace a Roof in the Hudson Valley?
- What Roofing Materials Suit a Hudson Valley Roof Replacement?
- How Do You Maintain Your Roof After Replacement?
- Frequently Asked Questions (FAQs)
- Ready to Plan Your Hudson Valley Roof Replacement?
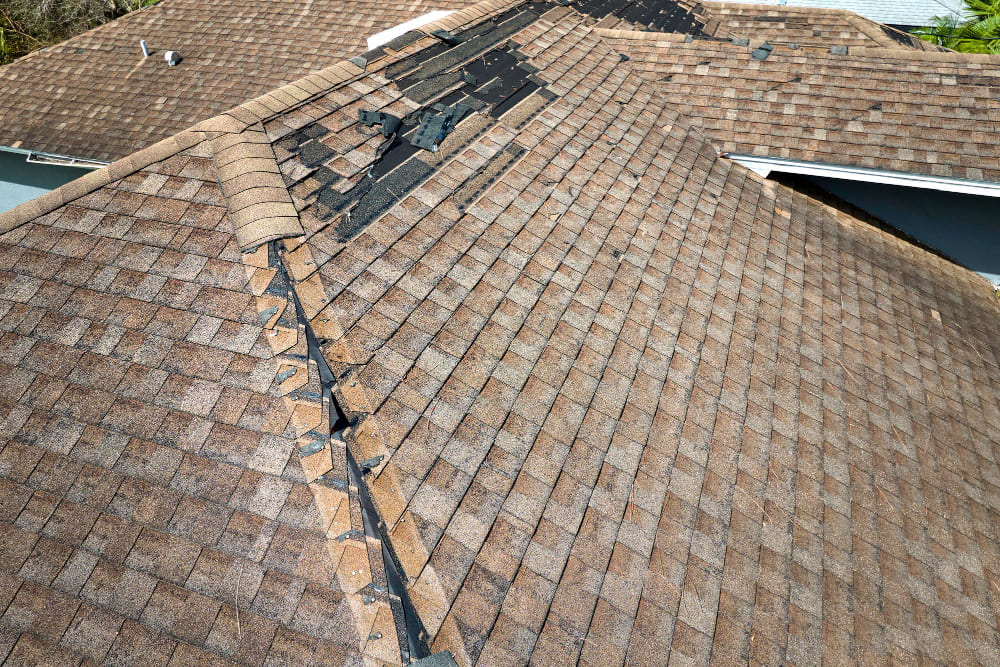
A roof replacement is one of the largest exterior investments a Hudson Valley homeowner can make. Many homeowners sign the contract without a clear picture of what the next two to three weeks will actually look like.
During a roof replacement, the contractor prepares the property, removes the old roofing materials, inspects the roof decking, and installs the underlayment, ice barrier, flashing, shingles, and ventilation components before final cleanup. Most Hudson Valley roof replacements take 1 to 3 days on-site, while the full process from contract signing to completion often takes 2 to 4 weeks, depending on permits, weather, roof complexity, and material availability.
Quick Facts
- Planning: The contractor handles permits, materials, and scheduling.
- Prep: The homeowner clears access areas and outdoor items.
- Tear-off: The crew removes old roofing materials.
- Installation: The crew installs decking, underlayment, shingles, and flashing.
- Cleanup: The crew completes a nail sweep, walkthrough, and warranty paperwork.
What Happens Before the Roofing Crew Arrives at Your Home?

The pre-installation phase often spans 1 to 3 weeks, depending on permits, material availability, weather, and crew scheduling. The contractor pulls the permit, finalizes material selections, schedules the dumpster, coordinates material delivery, and books the crew. Homeowner-side prep happens in the final 48 hours before the start date.
Pre-installation responsibilities are split into two categories.
Contractor-managed tasks:
- Local building department permit (required in most Hudson Valley municipalities)
- Material order and rooftop delivery
- Dumpster scheduling and placement
- Crew and equipment coordination
Homeowner-managed prep:
- Move vehicles out of the driveway
- Remove or secure attic-stored items (vibration can shake dust loose)
- Relocate patio furniture, grills, and potted plants away from the perimeter
- Trim low-hanging branches that block roof access
- Notify immediate neighbors about timing
What Are the Steps in a Roof Replacement?
Step 1: Property Preparation Before Tear-Off Begins
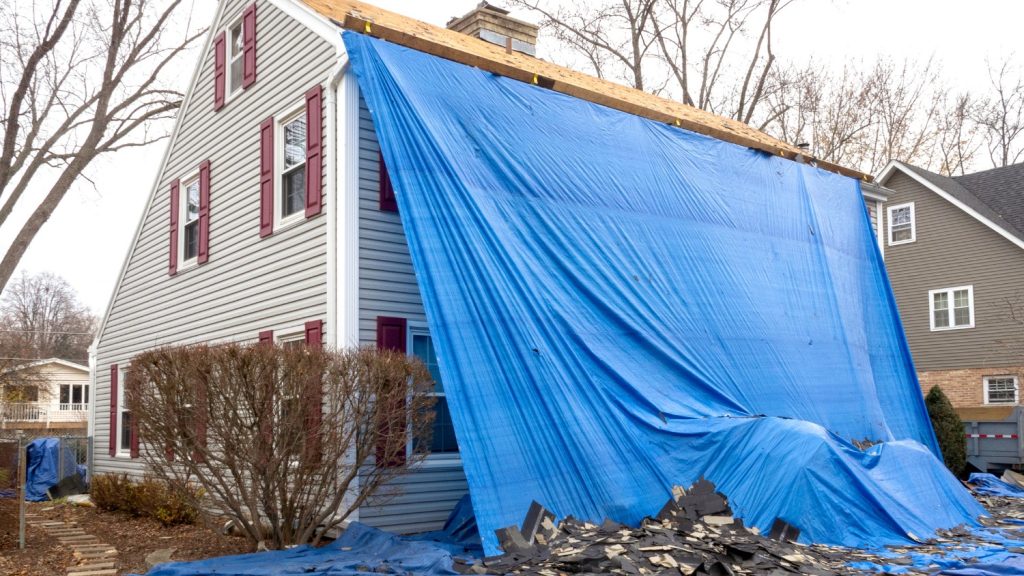
Property protection happens within the first hour of day one. Crews establish safety perimeters and shield landscaping, hardscape, and exterior features from falling debris. OSHA-compliant fall-protection systems should also be installed and verified before any roof work begins.
Standard protection setup includes:
- Tarps over flower beds, shrubs, and grass surrounding the home
- Plywood sheets over decks, air conditioning units, and pool covers
- A designated dumpster zone with driveway protection
- Magnetic-sweep boundary lines for nail recovery
- OSHA-compliant harnesses, anchors, and edge protection for the crew
Step 2: Step 2: Tear-Off and Removal of Old Roofing Materials
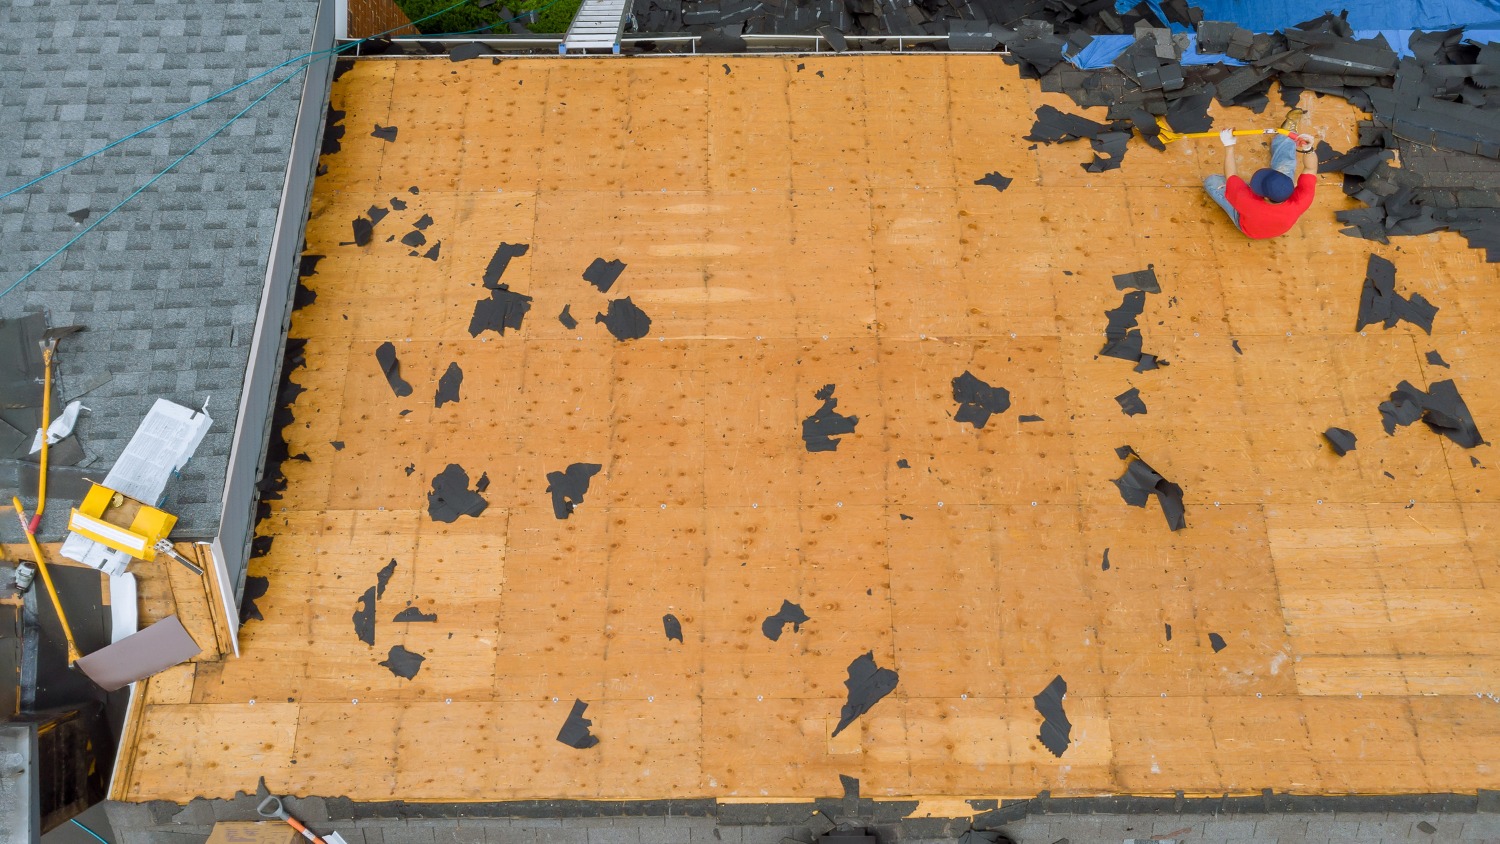
A tear-off roof replacement is the complete removal of existing shingles, underlayment, flashing, and any damaged components down to the wood deck. Most residential tear-offs finish in half a day to a full day depending on roof size and the number of existing shingle layers.
Tear-off is often preferred for a cleaner installation and may be required for certain manufacturer warranty options. GAF installation documentation notes that roof-over (overlay) installations may restrict warranty coverage and shorten the new roof’s effective life. Old flashing, drip edge, and pipe boots come off during tear-off as well, since reusing worn components creates leak points under brand-new shingles.
Step 3: Roof Decking Inspection
Roof decking inspection happens immediately after tear-off, before any new material goes down. The decking is the plywood or OSB sheathing that supports the entire roof system. Damaged sheets should be replaced to support the new roof system, maintain structural integrity, and help protect warranty coverage.
Common Hudson Valley decking issues include:
- Soft spots from prior ice damming at the eaves
- Water staining around chimney flashing and skylights
- Delamination from chronic attic ventilation failure
- Rot near plumbing vents or roof-wall transitions
- Squirrel, raccoon, or woodpecker damage in older homes
Reputable contractors disclose per-sheet decking replacement pricing on the original estimate so the homeowner is not blindsided by a verbal quote mid-project.
Step 4: Underlayment and Ice Barrier Installation
Underlayment and ice barrier installation follow the 2020 New York Residential Code, Section R905.1.2. The ice barrier must extend from the lowest roof edge to a point not less than 24 inches inside the exterior wall line. Roofs sloped 8:12 or steeper require coverage at least 36 inches measured up the slope from the eave.
Layer installation follows this order:
-
- Self-adhering polymer-modified bitumen ice and water shield at eaves, valleys, and penetrations
- Synthetic underlayment across the remaining deck surface
- Metal drip edge along eaves and rakes
- New step flashing, valley flashing, and pipe boots
Synthetic underlayment outperforms traditional felt in tear resistance and UV exposure tolerance, which matters during multi-day Hudson Valley installations.
Step 5: New Shingles and Flashing Installation
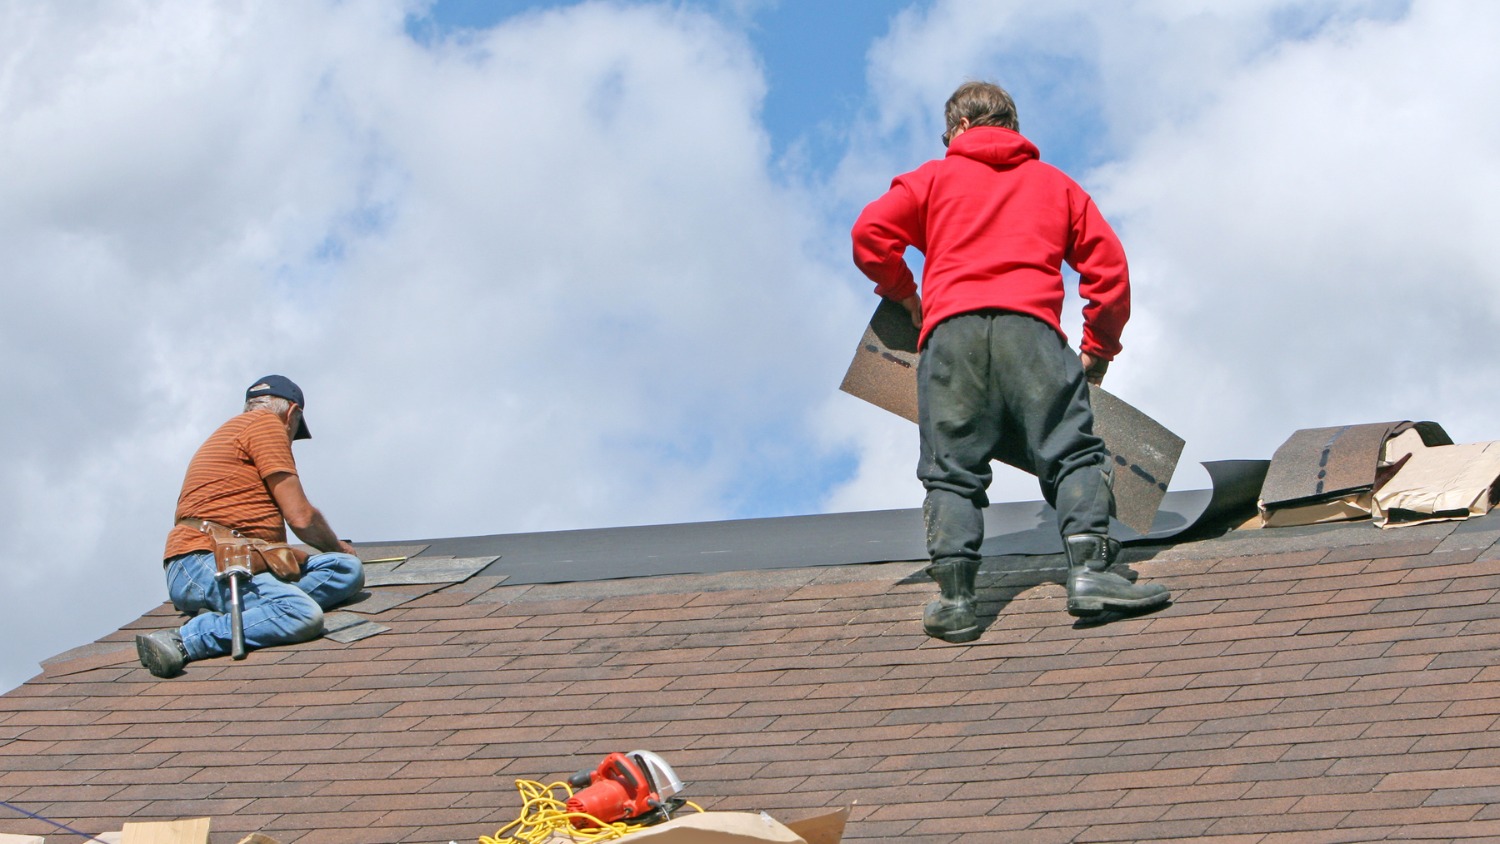
Shingle installation runs course by course from the eaves upward, following the manufacturer’s nailing patterns and exposure spacing. Each shingle requires the correct number of fasteners placed in the manufacturer-specified nail line. Improper nailing can affect wind performance, water resistance, and warranty coverage.
Flashing installation is integrated throughout the shingle courses, not added afterward:
- Step flashing at every roof-to-wall intersection
- Valley flashing woven or installed under shingle courses (system-dependent)
- Chimney flashing and counterflashing reset against masonry
- New pipe boots around plumbing vents
- Ridge cap shingles installed last over the peak
In cold-weather conditions, manufacturer guidance may require hand-sealing shingle tabs with approved asphalt cement to compensate for delayed sealant strip activation.
Step 6: Ventilation Completion and Site Cleanup
Ventilation completion and site cleanup close out the project on the final day. Ridge vents (or other manufacturer-specified exhaust systems) are cut and installed at the roof peak to pair with the existing soffit intake. According to the U.S. Department of Energy’s attic weatherization guidance, balanced attic ventilation helps manage heat and moisture, supports long-term roof performance, and reduces conditions that can contribute to ice dam formation.
Final cleanup includes:
- Magnetic nail sweep of the entire perimeter (often run multiple times)
- Gutter clean-out of shingle granules and debris
- Removal of tarps, plywood protection, and the dumpster
- Final walkthrough with the homeowner
- Warranty registration paperwork and project documentation handoff
MORE ON THIS TOPIC: How to Pay for a New Roof? A Homeowner’s Guide from a Local Roofing Contractor
How Long Does a Roof Replacement Take in the Hudson Valley?
The timeline for a roof replacement near you depends on home size, roof complexity, weather, and permit processing. On-site work takes 1 to 3 days for most homes. The total project span from contract signing to final inspection runs 2 to 4 weeks.
|
Home Size |
On-Site Work Days |
Contract-to-Completion |
|
Under 1,500 sq ft |
1 to 2 days |
1 to 2 weeks |
|
1,500 to 2,500 sq ft |
2 to 3 days |
2 to 3 weeks |
|
2,500 to 4,000 sq ft |
3 to 5 days |
3 to 4 weeks |
|
Multi-level with dormers or valleys |
4 to 7 days |
3 to 5 weeks |
Permit turnaround, material lead times, and weather delays drive most schedule variability in Dutchess, Orange, Putnam, and Ulster County projects.
When Is the Best Time of Year to Replace a Roof in the Hudson Valley?
Late spring through early fall offers the most stable conditions for a Hudson Valley roof replacement. Sealant strip activation, crew productivity, and material handling all peak in this window.
Seasonal breakdown:
- May to October: Optimal installation conditions and dependable contractor schedules
- November: Workable, with cold-weather protocols often required late in the month
- December to February: Reserved for emergency replacement only, with sealant activation extending into spring
- March to April: Workable but weather-dependent with frequent rain and freeze-thaw cycles
Booking by midsummer typically secures a fall installation slot before the regional contractor calendar tightens.
What Roofing Materials Suit a Hudson Valley Roof Replacement?
Material selection drives both project duration and long-term performance. Hudson Valley conditions favor materials engineered for freeze-thaw cycles, snow loads, and high summer humidity. Asphalt shingles dominate the residential market across Dutchess and Orange Counties, with metal systems gaining ground on rural and steep-sloped properties.
How Do Asphalt Shingles Perform in Hudson Valley Conditions?
Asphalt shingles handle Hudson Valley weather reliably when installed to the manufacturer’s specifications. Architectural and designer profiles carry wind ratings from 110 mph to 130 mph and warranty terms ranging from 30 years to lifetime limited.
- Architectural shingles: standard residential choice for most replacements
- Designer shingles: thicker profile, premium aesthetic, longer warranty terms
- Algae-resistant granule coatings address summer humidity staining
- Fully compatible with all NY underlayment and ice barrier requirements
When Should You Consider Metal Roofing Instead?
Metal roofing suits homes with steeper pitches, rural exposure, or chronic ice dam history. Standing seam systems deliver service lives of 40 to 70 years and shed snow without manual removal.
- Standing seam: concealed fastener system, premium performance tier
- Exposed fastener metal: lower cost, shorter service life
- Higher upfront cost offset by extended lifespan
- Reduced ice damming due to smoother thermal-shedding properties
How Do You Maintain Your Roof After Replacement?
Post-installation maintenance protects warranty coverage and extends the roof’s service life. Hudson Valley climate demands seasonal attention to gutter clearance, ice dam prevention, and storm damage assessment. Most annual maintenance tasks fit inside a single morning each season.
What Routine Maintenance Tasks Should You Schedule?
Annual maintenance combines visual checks, gutter clearance, and attic ventilation verification. Most homeowners complete the basic routine in one morning each spring and again in late fall.
- Clear gutters and downspouts twice yearly (after leaf drop and before spring rain)
- Trim overhanging branches before each storm season
- Inspect the attic for ventilation blockages or active moisture signs
- Verify flashing seals around chimneys, skylights, and roof penetrations
When Should You Schedule a Professional Inspection?
Schedule a professional inspection every 2 to 3 years on a newer roof. Book one immediately after major wind, hail, or ice events that exceed typical Hudson Valley seasonal patterns.
- Routine check: every 2 to 3 years for a roof under 10 years old
- Post-storm inspection: after wind events above 50 mph
- Pre-sale inspection: before listing the home on the market
- Insurance documentation: following any storm-related claim event
Frequently Asked Questions (FAQs)
How much does a roof replacement cost in the Hudson Valley?
Pricing varies by roof size, material tier, decking condition, and accessory components. Request itemized written estimates from at least two credentialed contractors to compare the scope accurately. Avoid verbal quotes and any contractor unwilling to break out materials and labor separately.
Does a new roof increase home value in New York?
Yes. A new roof improves marketability, removes a major buyer negotiation point at closing, and may help the home qualify for insurance updates or potential premium adjustments. Hudson Valley buyers often consider roof age during the inspection and negotiation process.
Do I need to replace gutters during a roof replacement?
Not always, but coordination matters. Older gutters with rust, sagging, or loose hangers should be replaced while the crew is already on-site to avoid duplicate labor costs. A contractor inspection determines whether existing gutters support the new roof system.
Can solar panels be installed on a newly replaced roof?
Yes. Solar panels are typically best installed on a roof with many years of expected service life remaining. Installing solar on an aging roof creates costly removal and reinstallation work later. Integrated solar shingle systems combine both into one warrantied product.
What happens if it rains during my roof replacement?
Crews tarp exposed deck sections at the end of each work day and during unexpected weather. Light rain pauses active installation, while heavy storms shift the schedule to the next clear day. Reputable contractors monitor forecasts daily and communicate any timeline adjustments.
Ready to Plan Your Hudson Valley Roof Replacement?
Lyndsey Roofing is a locally owned roofing and exterior contractor serving homeowners across Dutchess, Orange, Putnam, and Eastern Ulster Counties. The company specializes in pitched and low-slope roof systems, with full-service capabilities spanning roof replacement, repair, inspections, siding, windows, and doors.