What’s in This Guide
- What Is Chimney Flashing and Why Does It Fail?
- What Are the Signs of Failed Chimney Flashing?
- How Can You Check for Chimney Flashing Problems Safely?
- Chimney Flashing Repair vs. Full Reflash: Which Fits Your Roof?
- What Does Professional Chimney Flashing Repair Involve?
- What Affects the Cost of Chimney Flashing Repair?
- How Can You Keep Chimney Flashing Working Longer?
- Frequently Asked Questions
- Get Chimney Flashing Repair Done Right in the Hudson Valley
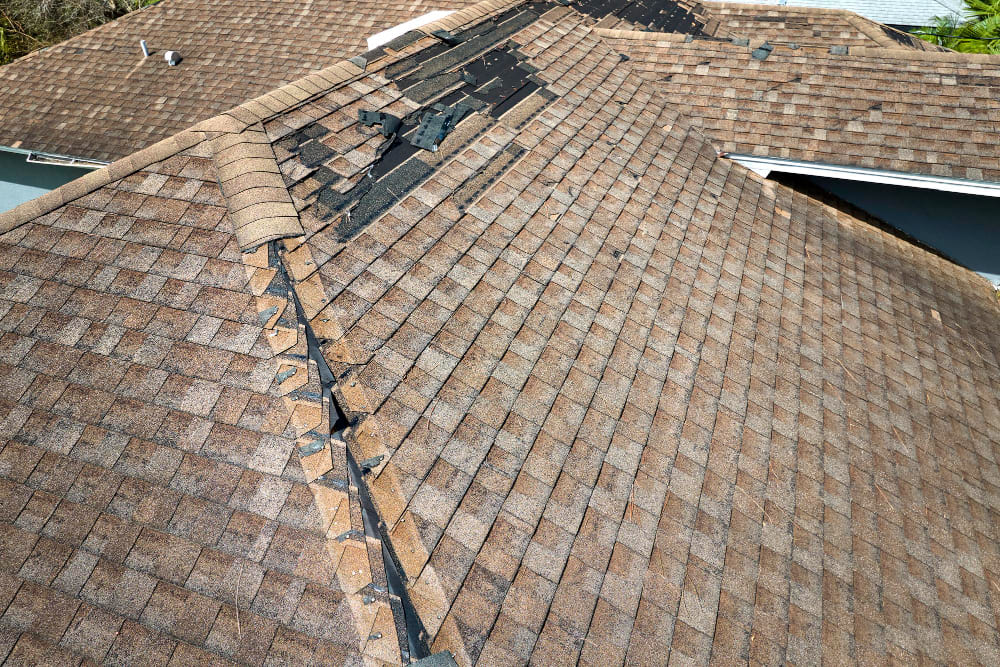
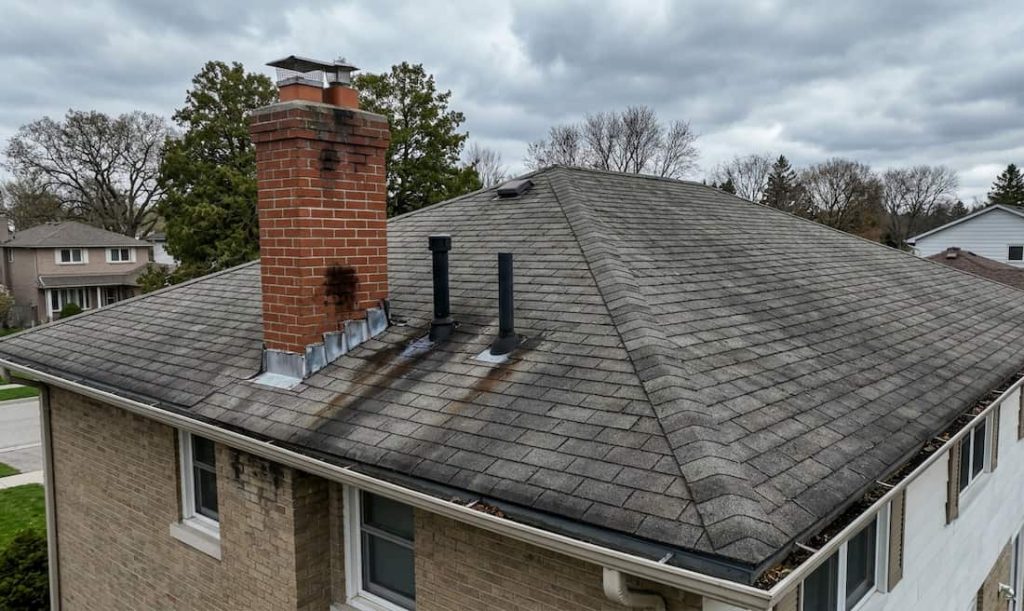
Water stains beside the fireplace wall, rust streaks on the brick, or a drip that only shows up in wind-driven rain: a roof leak around the chimney usually traces back to the flashing. Chimney flashing repair is often a targeted fix, but only when you know what failed and why. Chimney flashing is the layered metal that seals the joint where masonry meets your roof.
Brick and roofing materials expand and contract at different rates, and Hudson Valley freeze-thaw cycles test that joint every winter. Here is how to spot failure, choose between a repair and a full reflash, and understand what shapes the cost.
Quick Facts
- Leaks often start at counter flashing, not shingles
- Sealant-only patches are temporary
- Repair suits isolated damage and sound metal
- Full reflash suits corrosion, repeat leaks, or reroofing
- Cost depends on scope, access, masonry, and decking
What Is Chimney Flashing and Why Does It Fail?
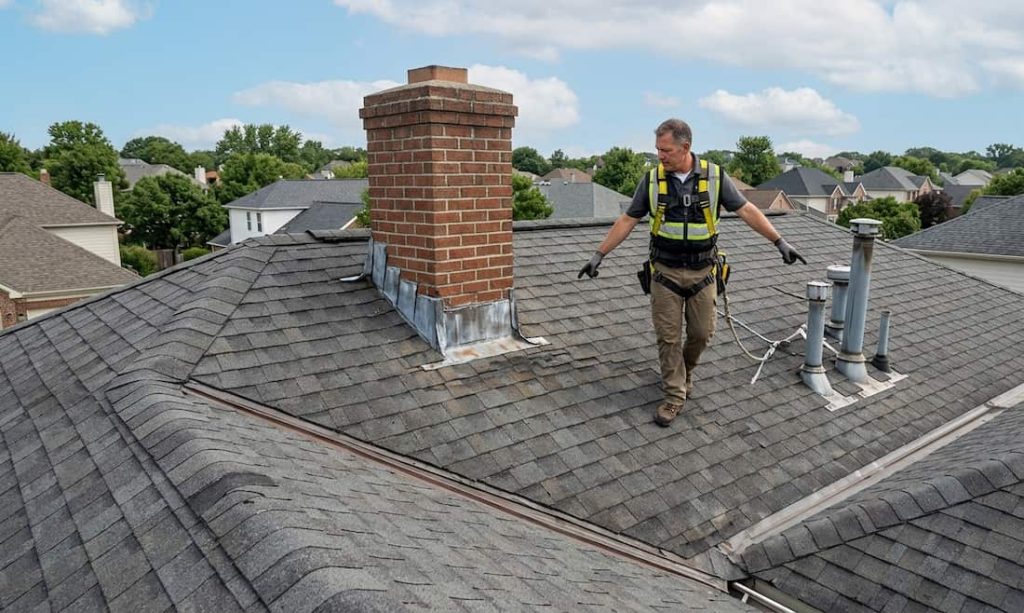
Chimney flashing is a layered system, not a single strip of metal. Chimneys are a known leak risk, and the International Residential Code requires flashing at chimney penetrations. Each layer has its own job.
Step flashing
Small L-shaped metal pieces are woven into every shingle course along the sides of the chimney. Water running down the slope stays on top of the metal and off the roof deck. Where a roof meets a wall instead of a chimney, kickout flashing diverts runoff into the gutter at the end of the run.
Counter flashing
A second metal layer is set into grooves cut in the mortar joints and folded down over the step flashing. It lets the roof and the masonry move independently without opening a gap. Counter flashing is often the first layer to fail, because mortar erodes and metal works loose as the brick moves.
Apron, back flashing, and cricket
Apron flashing covers the downslope face of the chimney, and back (head) flashing protects the upslope side. Wide chimneys add a cricket, a small peaked structure that splits water around the obstruction. Under model codes, chimneys wider than 30 inches generally need a cricket, though your local building department has the final say.
Freeze-thaw cycles, corrosion, nails that back out, and dried sealant all wear on these joints. Ice and snow load against the chimney base add stress, so a small gap can open into a real leak by spring.
What Are the Signs of Failed Chimney Flashing?
A roof leak around the chimney rarely announces itself with a steady drip. The early signs are subtle and often seasonal.
Signs Inside the Home and Attic
- Ceiling or wall stains, or bubbling paint, near the chimney wall
- A musty smell or dampness after rain or snowmelt
- Wet or compressed insulation beside the chimney framing
- Dark, stained rafters or decking around the chimney
Signs on the Roof and Chimney
- Rust streaks on the brick or the metal
- Visible gaps or daylight between counter flashing and masonry
- Bent, lifted, or missing flashing
- Cracked, dried sealant, or thick layers of roof cement from earlier patches
- Crumbling mortar along the flashing line
- Curled or missing shingles beside the chimney
Why the Stain May Not Sit Near the Chimney
Water travels. It enters high, follows rafters, decking, and insulation, then shows up on a ceiling some distance away. Cracked chimney crowns, failed mortar, and condensation can also mimic a flashing leak. Ponding water elsewhere on the roof can do the same, and how commercial roofers diagnose ponding water problems comes down to tracing the water back to its source.
How Can You Check for Chimney Flashing Problems Safely?
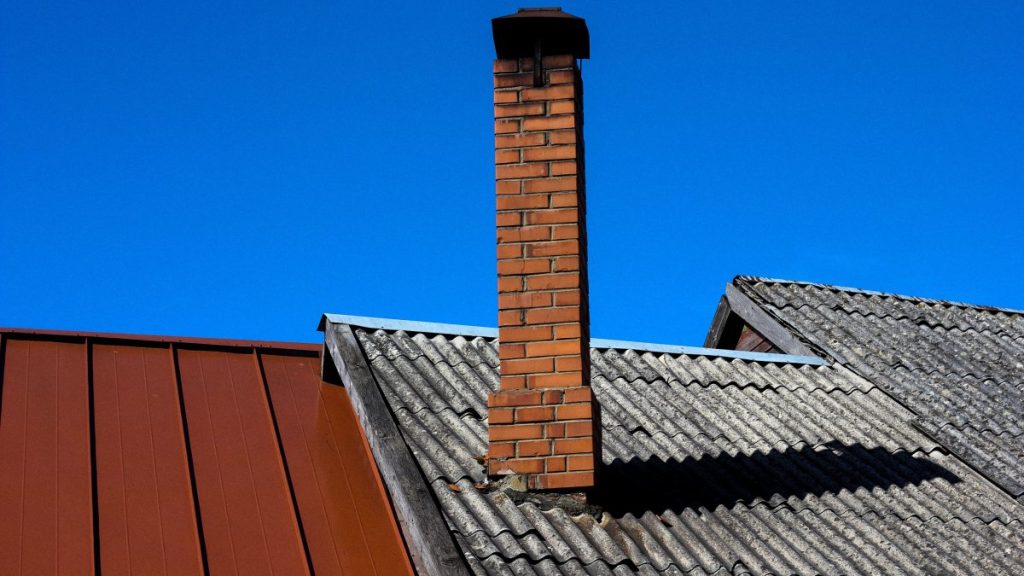
Stay on the ground and in the attic. Wet, steep, or icy roofs cause serious falls, and walking on shingles can damage them.
- Check the attic after rain or snowmelt. With a flashlight, look at the decking and framing around the chimney for dampness, dark stains, or wet insulation. Dampness from poor attic airflow can look similar, so compare ridge vent versus box vent for better attic airflow if stains persist after a flashing repair.
- Trace water uphill. Stains sit below the entry point, so follow wet wood toward the chimney.
- Scan the chimney from the ground. Use binoculars to look for rust streaks, lifted metal, and cracked sealant at the base.
- Photograph everything. Dated photos help a roofer diagnose faster and show how conditions change over time.
- Call a professional for roof access. Anything that requires walking the roof belongs to a trained crew with fall protection.
Chimney Flashing Repair vs. Full Reflash: Which Fits Your Roof?
The right call depends on the condition of the metal, the masonry, and the roof around it. Matching the fix to the actual failure keeps you from overspending on one end or repeating repairs on the other.
|
Factor |
Targeted Repair |
Full Reflash |
|
Flashing condition |
Mostly sound metal, one failed area |
Corroded, undersized, or patched repeatedly |
|
Leak history |
First or isolated leak |
Leaks return after earlier repairs |
|
Typical work |
Reset counter flashing, replace a damaged section, renew sealant |
Replace step, apron, back, and counter flashing, plus a cricket if needed |
|
Surrounding roof |
Shingles and decking dry and sound |
Roof near end of life, or decking has rot |
|
Best timing |
Any dry window |
Often alongside a roof replacement |
When a repair holds up
Targeted repair works when the metal is mostly sound, the mortar is solid, and the shingles and decking around the chimney are dry. Typical fixes include resetting loose counter flashing, replacing a damaged section of step flashing, or renewing sealant in the grooves.
Sealant eventually dries, shrinks, and cracks, so sealant-dependent counter flashing needs annual checks and reapplication. Renewing it is maintenance, not a permanent cure.
When a full reflash is the safer call
A full reflash removes the old step, apron, back, and counter flashing and installs new, matched components. It makes sense when the metal is corroded, earlier patches are layered with roof cement, leaks keep returning, or the decking is soft.
It is also the practical choice during a roof replacement, since new shingles over worn flashing leave the most common leak point untouched. Homeowners replacing the roof anyway can also weigh cedar shake cost and lifespan for Hudson Valley homes against other materials. The mortar must be sound enough to hold new counter flashing, so cracked or crumbling masonry is addressed first.
What Does Professional Chimney Flashing Repair Involve?
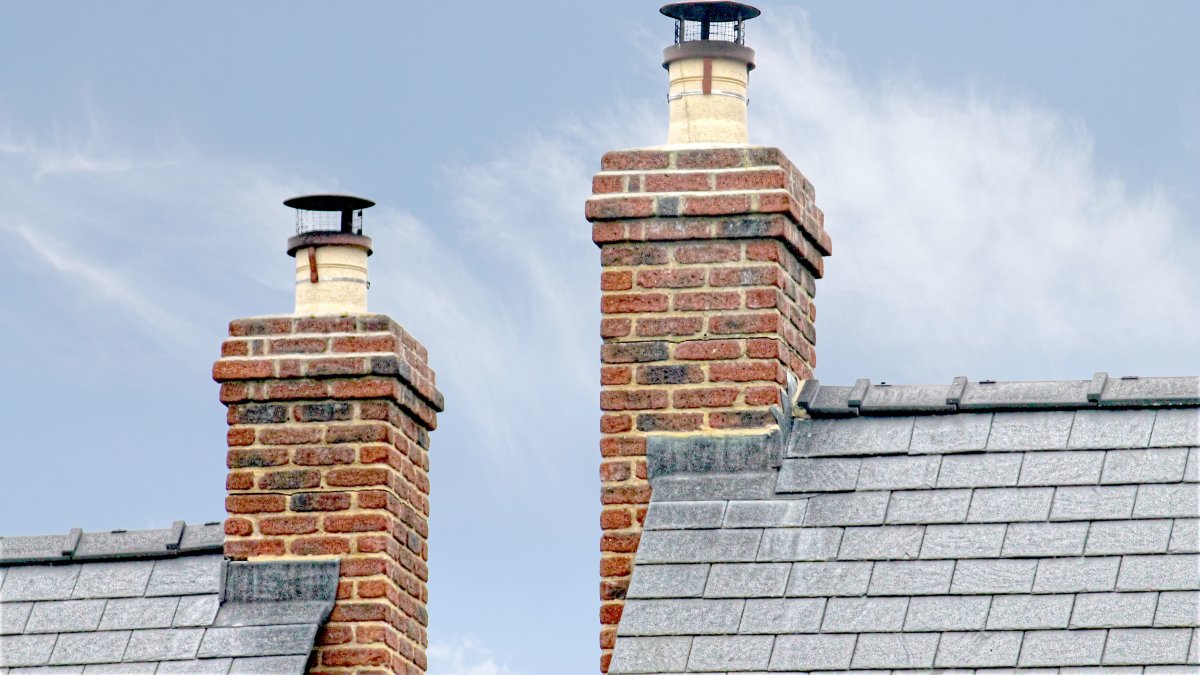
A thorough job follows a sequence, and skipping steps is how leaks come back.
- Diagnosis. The roofer checks the attic for moisture, inspects the flashing and masonry, and confirms the actual entry point before any metal is touched.
- Removal. Failed flashing, old sealant, and roof cement are cleared, and nearby shingles are lifted as needed.
- Decking check. Wet or soft sections of roof deck are repaired or replaced so the new metal has solid support.
- Leak barrier. Self-adhered membrane is applied around the chimney base where the design calls for it.
- Step and apron flashing. Corrosion-resistant metal, such as galvanized steel, aluminum, or copper, is installed course by course with the shingles.
- Counter flashing. Metal is set into cut mortar joints, folded over the step flashing, and sealed with an appropriate sealant.
- Cricket and finish. A cricket is added where the chimney width calls for one, shingles are replaced, and the work is checked before the crew leaves.
What Affects the Cost of Chimney Flashing Repair?
Chimney flashing repair is priced from an on-site inspection, not from a standard number. Two chimneys on the same street can need very different work, so any estimate should be written, itemized, and based on what the roofer actually finds.
These factors move the estimate up or down:
- Scope: A spot repair versus a full reflash
- Chimney Size: The number of sides and whether a cricket is needed
- Masonry Condition: Grooves that must be cut or mortar that needs attention first
- Roof Pitch and Access: Steeper or taller roofs require more equipment and safety setup
- Metal Choice: Galvanized steel, aluminum, or copper
- Decking Condition: Rot or moisture damage discovered once the old flashing comes off
- Timing: Bundling the work with a roof replacement versus a standalone or urgent repair
|
Scope |
Typical Work |
Relative Estimate |
|
Minor repair |
Reset counter flashing, renew sealant |
Lower |
|
Partial replacement |
Replace step or apron sections, recut grooves |
Moderate |
|
Full reflash |
All flashing components, possible cricket, deck repair |
Higher |
How Can You Keep Chimney Flashing Working Longer?
- Inspect in spring and fall, and after major storms, when freeze-thaw cycles and wind are hardest on the joints. Keep dated photos and invoices too, since roof records matter when selling a home with solar roof shingles or any other roof.
- Recheck sealant lines every year where counter flashing depends on sealant.
- Keep branches and debris away from the chimney base so snow and leaves do not pack against the metal.
- Address mortar and crown cracks early, since flashing relies on sound masonry to stay put.
Frequently Asked Questions
Can you repair chimney flashing yourself?
Small sealant touch-ups from a stable position are one thing. Real flashing work means cutting mortar grooves, lifting shingles, and working beside a chimney on a sloped roof. Falls are a serious risk, and layering errors can create a new leak path. A trained roofer protects both your safety and the finished result.
How long does chimney flashing last?
There is no single number. Lifespan depends on the metal, the quality of the installation, sealant condition, and exposure to snow, ice, and freeze-thaw cycles. Flashing on older roofs may be near the end of its service life even when the shingles still look serviceable, so it deserves attention at every inspection.
Can chimney flashing be repaired in winter?
Temporary leak control can happen in cold weather. Permanent work that disturbs shingles is better in dry, milder conditions, because shingle sealant strips need warmth to bond. If a leak appears in winter, document it and get temporary protection in place until a lasting repair can be scheduled.
Does homeowners insurance cover chimney flashing repair?
Coverage depends on your policy and the cause of the damage. Policies commonly cover sudden events such as wind or a fallen limb, while gradual wear and deterioration are typically excluded. Review your policy, photograph the damage, and keep any inspection notes for your claim file. On a roof with solar shingles, a leak near the chimney can overlap with solar shingle not working diagnosis and warranty questions, so keep those records together.
Should a roofer or a mason repair a chimney leak?
Roofers handle flashing, shingles, and decking. Masons handle chimney crowns, brick, and mortar. Many leaks involve both, because counter flashing needs sound mortar to hold. A roofer can tell you which trade is needed and in what order the work should happen.
Get Chimney Flashing Repair Done Right in the Hudson Valley
A chimney leak does not have to turn into a bigger project. At Lyndsey Roofing, we trace the leak to its source, explain what we find in plain language, and recommend the right fix for your roof.
Our team is locally owned and built on a simple promise: protect the homes and families in our community. We bring certified roofing expertise, quality materials, and careful workmanship to homeowners across the Hudson Valley, with professional roof repair services across the Hudson Valley and financing options available when you need them.