What’s in This Guide
Why Roof-to-Wall Intersections Are a High-Risk Spot for Water Damage
Where Kickout Flashing Is Used
Step Flashing and Kickout Flashing: How They Work Together
Warning Signs of Missing or Incorrectly Installed Kickout Flashing
How a Roofing Contractor Installs Kickout Flashing
Factors That Affect Kickout Flashing Installation or Repair
When Should You Call a Roofing Contractor About Kickout Flashing?
Ready to Have a Roofing Contractor Inspect Your Roof-to-Wall Flashing?
If you have noticed a dark stripe running down your siding just below where your garage roof meets the two-story wall of your home, the culprit is rarely the siding itself.
More often, it is a missing or failed kickout flashing, a small but important flashing detail that a qualified roofing contractor should never skip at a roof-to-wall intersection.
Quick Facts
- Kickout flashing diverts rainwater away from a roof-to-wall intersection into the gutter.
- 2021 IRC Section R903.2.1 requires flashing to divert water at roof-sidewall intersections.
- Step flashing should extend 4 inches up the wall and roof deck.
- Missing kickout flashing often causes hidden damage to wall sheathing and framing.
- Garage, dormer, porch, and chimney intersections need a roofing contractor’s flashing check.
What Is Kickout Flashing?
Kickout flashing, also called a diverter, is a formed piece of metal or molded flashing installed at the low point of a roof-to-wall intersection. It “kicks” concentrated roof runoff outward, away from the wall, and into the gutter instead of letting it track down behind the siding.
The piece sits at the bottom of a sidewall, where the roof eave, the gutter end, and the vertical wall surface all meet. Contractors sometimes call it an “elephant ear” because of its flared shape. Without it, water that would normally run into the gutter instead overshoots the edge and streams down the wall cladding.
Why Roof-to-Wall Intersections Are a High-Risk Spot for Water Damage
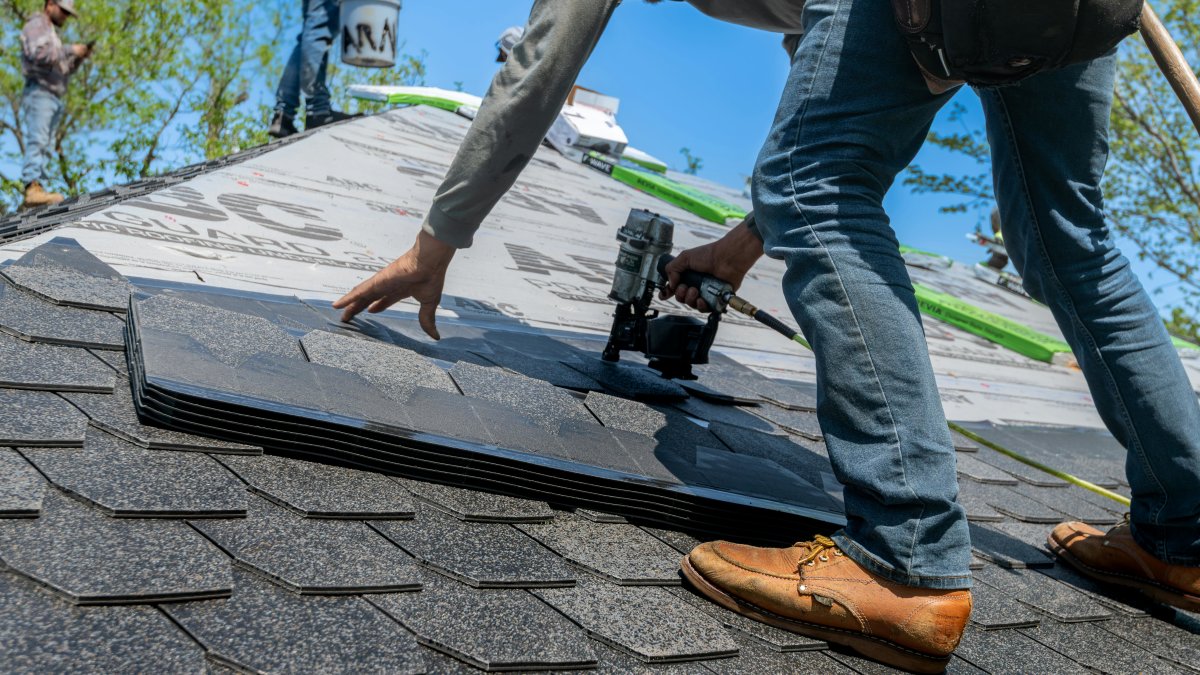
Any place where a roof plane meets a wall is one of the most vulnerable points on a home’s exterior, because two different planes and often two different materials come together at once. Heavy rain concentrates at that junction, and if the flashing detail is incomplete, water finds a way behind the cladding.
Flashing at wall and roof intersections has been a building code requirement for years. Under the 2021 International Residential Code, Section R903.2.1, flashings must be installed at wall and roof intersections, wherever there is a change in roof slope or direction, and around roof openings, with a flashing required to divert water away from where the eave of a sloped roof intersects a vertical sidewall, which is the exact condition a kickout flashing is designed to address.
During a major storm, a roof can direct large volumes of water toward a single low point. If that water overwhelms an undersized or missing diverter, it can saturate wall sheathing and framing and, in some cases, contribute to mold growth inside the wall cavity long before any staining appears on the exterior finish.
Where Kickout Flashing Is Used
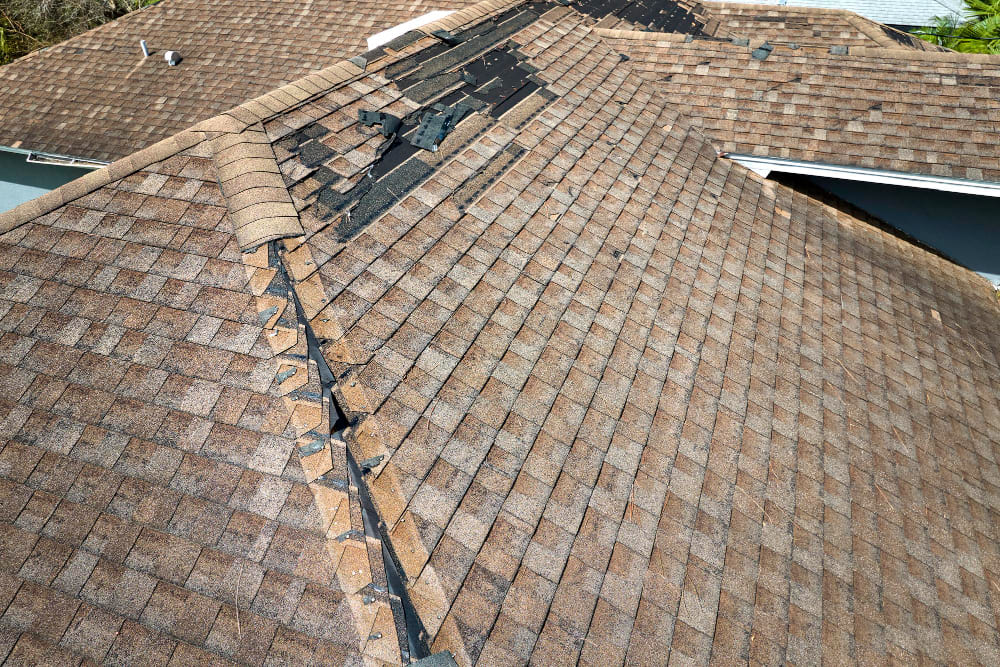
A roofing contractor should check for kickout flashing anywhere a sloped roof plane terminates against a vertical wall. These intersections are part of a broader roof-water management system, and waterproofing valleys, dormers, and wall joints helps prevent water from reaching vulnerable areas beneath the roof covering.
Common locations include:
- Where a garage roof eave meets the sidewall of a two-story section of the home
- Where a porch roof, bay window roof, or bump-out roof terminates against the main house wall
- Where a dormer sidewall meets the main roof plane at the eave
- Where a gutter ends beside a chimney chase or a stucco-clad wall section
Step Flashing and Kickout Flashing: How They Work Together
Step flashing and kickout flashing are two different components that only work as a system. Step flashing protects the sloped seam where the roof meets the wall, while kickout flashing catches the water at the bottom of that run and sends it into the gutter instead of letting it continue behind the siding.
|
Component |
Where It Goes |
What It Does |
Sizing Guidance |
|
Step flashing |
One piece per shingle course, along the sloped roof-to-wall seam |
Sheds water off the roof plane and keeps it from tracking into the wall assembly |
Extends at least 4 inches up the wall and at least 4 inches along the roof deck, per InterNACHI |
|
Kickout flashing |
At the base of the intersection, where the eave meets the gutter |
Diverts concentrated runoff outward into the gutter rather than behind the wall covering |
New shingle courses and step flashing should lap a minimum of 4 inches over the diverter |
Skipping one of these pieces defeats the purpose of the other. A roof with correct step flashing but no kickout will still funnel water down the wall at the bottom edge, and a kickout with no properly integrated step flashing above it will not stop water higher up the intersection from getting behind the cladding.
Warning Signs of Missing or Incorrectly Installed Kickout Flashing

Signs of a kickout flashing problem often show up on the siding or inside the home, not on the roof itself. Homeowners can watch for:
- A vertical stain or dark streak on siding directly below a roof-to-wall intersection
- Peeling paint, bubbling finish, or staining on wood trim near a garage or porch roofline
- Soft, spongy, or discolored siding, drywall, or trim near the base of a sidewall
- A musty odor or visible mold near an interior wall below a roof intersection
- No visible diverter piece where a gutter ends beside a wall or chimney chase
Water penetration behind cladding may occur with little to no visible evidence for years, which is why a visual check alone is not always conclusive. A qualified roofing contractor should evaluate the flashing detail directly, since some claddings can mask underlying damage far longer than others.
How a Roofing Contractor Installs Kickout Flashing
Kickout flashing installation follows a specific sequence that ties into the underlayment, step flashing, and siding rather than standing alone. The general process, outlined in U.S. Department of Energy Building America best practices, looks like this:
Step 1: Prepare the Roof-to-Wall Connection
The contractor leaves a small gap between the end of the fascia and the wall so the water-resistive barrier (WRB) and siding can later slide into place, then applies a self-adhering flashing membrane along the wall at the roof edge.
Step 2: Install Drip Edge and Starter Shingles
Metal drip edge goes down along the eave first, followed by the starter course of shingles, set according to the shingle manufacturer’s installation guidance.
Step 3: Set the Kickout Diverter
A seamless, one-piece diverter is positioned flat on the roof deck and flush to the sidewall, right where the starter trough ends. It should be fastened and sealed to the roof deck and starter strip.
Step 4: Layer Step Flashing and Shingles Over the Diverter
Each course of step flashing and shingles overlaps the upslope edge of the diverter by at least 4 inches and integrates with the housewrap or water-resistive barrier above it so water sheds over each layer in sequence. Correct shingle installation also matters, including following the manufacturer’s shingle nailing pattern and placement guidance.
Step 5: Confirm the Siding Termination
Siding is installed over the step flashing, ending at least 1 inch above the roof surface, following InterNACHI’s inspection checklist for a correctly finished assembly.
Factors That Affect Kickout Flashing Installation or Repair
Kickout flashing costs vary based on the specific project, and a roofing contractor typically needs to see the intersection in person before providing an accurate estimate. Several factors influence the scope of work, including:
- Whether the diverter is part of a full roof replacement or an isolated retrofit into existing siding
- The type of wall cladding involved, since stucco, vinyl, fiber cement, and wood siding each require different removal and reinstallation methods
- Accessibility of the intersection, including roof pitch, height, and surrounding obstructions
- Any hidden decking, sheathing, or framing damage discovered once the old flashing and siding are opened up
- Whether a standard prefabricated diverter fits the roof pitch or a custom-fabricated piece is needed
Because every home’s roofline and siding condition is different, the only way to get an accurate number is a site visit and a written estimate. Roof pitch, access, and project complexity can also influence pricing when comparing roofing companies and roof pitch costs.
When Should You Call a Roofing Contractor About Kickout Flashing?
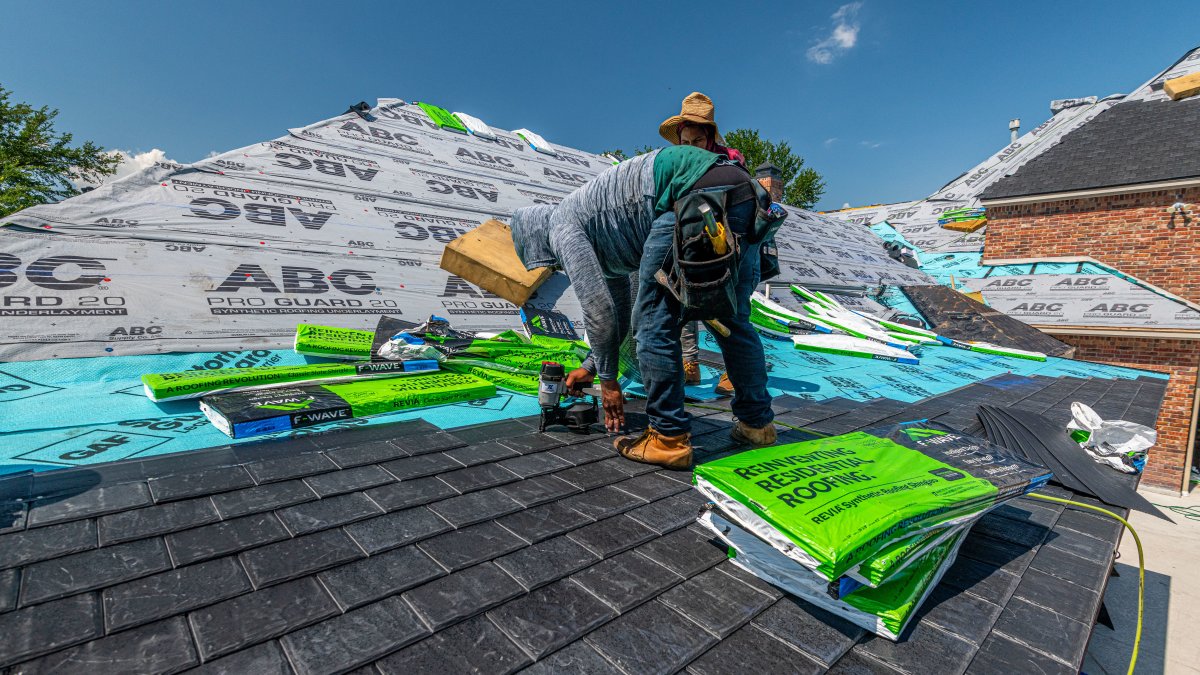
Any staining, soft siding, or musty smell near a roof-to-wall intersection is worth a professional look before it turns into a larger repair. Because kickout flashing failures often hide damage behind the wall covering, a hands-on inspection is the most reliable way to confirm whether the flashing is present, undersized, or properly integrated with the siding and underlayment above it.
A roof replacement, siding project, or gutter installation is also a practical time to have a roofing contractor check every roof-to-wall intersection on the home, since the flashing is already exposed. A final roof walkthrough checklist can help homeowners confirm that key details have been reviewed before the project is considered complete.
If a roof replacement also involves solar panels, coordinating the work can help ensure roof details are accessible during installation. Homeowners planning this type of project can review what to consider when roofers remove solar panels for a roof replacement.
Frequently Asked Questions
Can kickout flashing be added without removing siding?
In some cases, yes. A roofing contractor may be able to tuck a diverter into place during a reroofing project, though a section of siding often has to come off to tie the flashing into the wall correctly.
Does kickout flashing need to be replaced during a roof replacement?
Generally, yes. Reusing old flashing can leave gaps or weak points under new shingles, so most roofing contractors replace kickout and step flashing as part of a full roof replacement.
Can homeowners install kickout flashing themselves?
It’s not typically recommended. Kickout flashing has to be sequenced with the underlayment, step flashing, and siding in a specific order, so this is usually left to a roofing contractor.
Does missing kickout flashing affect a roof or siding warranty?
It can. Manufacturer warranties often assume flashing was installed correctly, so a missing or incorrect kickout may affect coverage. A roofing contractor can check the installation against manufacturer requirements.
How often should kickout flashing be inspected?
Most roofing contractors recommend checking roof-to-wall intersections during routine inspections or after major storms, since this detail is one of the more vulnerable spots for water intrusion.
Ready to Have a Roofing Contractor Inspect Your Roof-to-Wall Flashing?
Lyndsey Roofing®, LLC, has served homeowners across Poughkeepsie and the greater Hudson Valley with flashing detail work built to the region’s freeze-thaw climate and storm exposure.
If you have noticed staining, soft siding, or a leak near a roof-to-wall intersection, a roof inspection is the first step toward a lasting fix.