What’s in This Guide
- What Does a Final Roof Walkthrough Actually Confirm?
- Why the Walkthrough Protects Your Roofing Investment
- Common Issues a Final Roof Inspection Can Catch
- How to Conduct a Final Walkthrough Before Paying a Roofing Contractor
- What Can Affect a Punch List Item or Follow-Up Repair
- When Should You Call a Professional Roofing Contractor?
- Frequently Asked Questions
- Ready to Schedule a Roof Inspection or Replacement in the Hudson Valley?
The crew is loading up the truck, the dumpster is scheduled for pickup, and the foreman is holding out an invoice for the final payment. Before that check changes hands, a documented walkthrough should confirm the finished roof matches what was quoted, installed correctly, and left the property clean.
Skipping this step is one of the easiest ways for a homeowner to lose leverage on an unresolved workmanship issue.
Key Takeaways
- Hold the last payment until a completed final roof inspection confirms the work matches the signed contracts
- A written roofing punch list should track flashing, nailing patterns, ridge caps, and ventilation openings before signoff
- Cleanup verification covers a magnetic nail sweep, gutter debris removal, and dumpster pickup from the property
- Paperwork handoff should include warranty registration details, an itemized invoice, and material documentation
- Unresolved items caught during a walkthrough are far easier to correct while the crew is still on site than weeks later
What Does a Final Roof Walkthrough Actually Confirm?
A final roof inspection confirms that installed materials, flashing, ventilation components, and site cleanup match the signed contract before the homeowner releases final payment. It gives both parties a documented record of completed work and any items still outstanding.
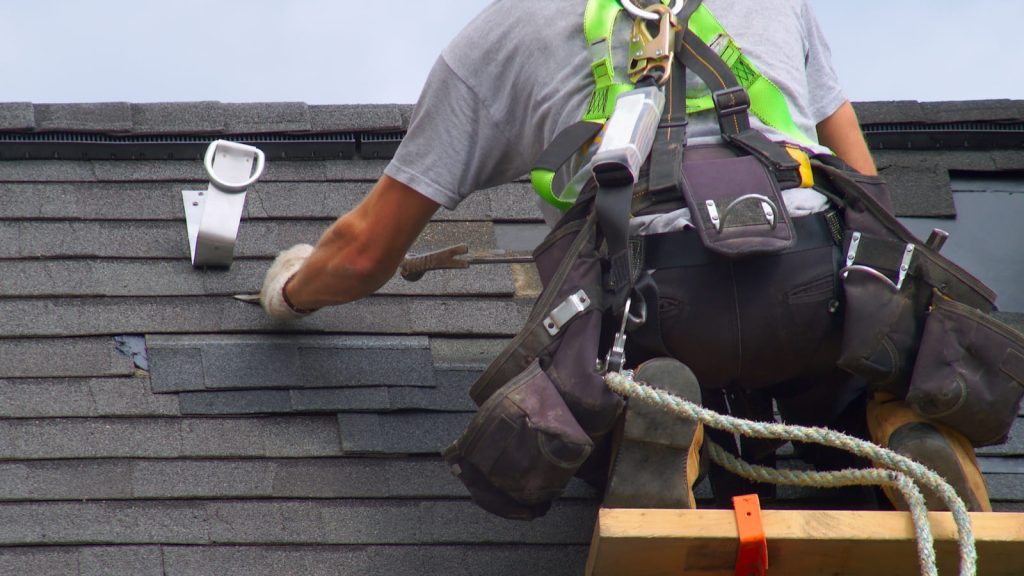
Most roofing companies near you will schedule this walkthrough on the same day cleanup wraps up, typically with the project foreman or a project manager present. The homeowner and the contractor walk the property together, review the work from the ground, and discuss any photos taken during installation of areas that are not visible after the job is finished, such as underlayment or ice barrier placement beneath the shingles.
This is also the point where a written punch list gets created if anything still needs attention. A punch list is simply a documented record of unresolved items, whether that is a loose piece of flashing, an unswept nail, or a torn tarp left in a flower bed.
Why the Walkthrough Protects Your Roofing Investment
Catch Issues Before Final Payment
A final walkthrough gives homeowners a chance to identify unfinished work or concerns before releasing the final payment.
Check the Roof Itself
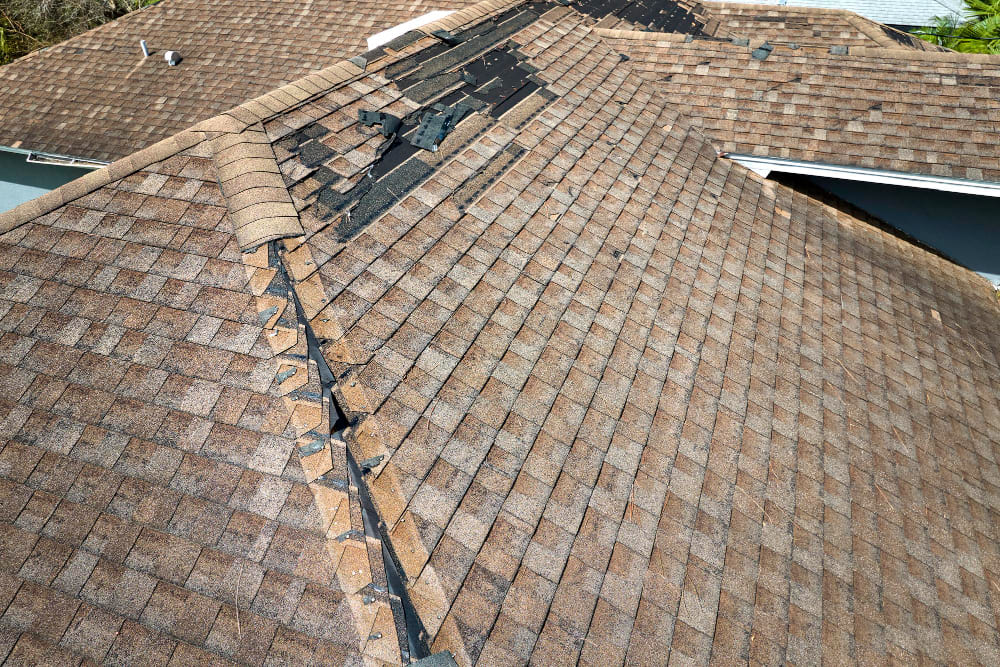
Loose flashing, unsealed penetrations, blocked vents, or other small issues are easier to correct while the crew is still on site.
Resolve Problems Faster
Minor punch list items can often be handled immediately when materials, ladders, and equipment are already in place.
Avoid Extra Service Visits
Catching problems during the walkthrough can reduce the need for a separate return visit after the project has officially closed.
Confirm the Project Is Complete
New York consumer guidance recommends completing a walkthrough and confirming the work is satisfactory before signing off and making final payment.
Common Issues a Final Roof Inspection Can Catch
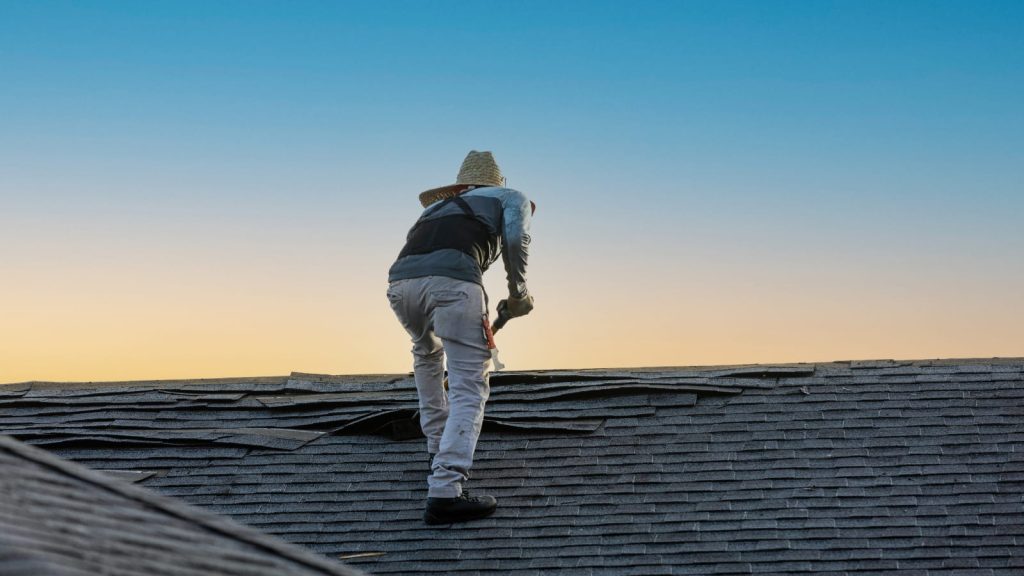
Certain trouble spots show up in almost every walkthrough, and knowing what to look for ahead of time makes the process faster for both the homeowner and the contractor.
|
Area |
What to Check |
Possible Red Flag |
|
Flashing |
Chimney, skylight, and sidewall transitions sealed and secured |
Gaps, exposed nail heads, or loose counterflashing |
|
Shingle field |
Consistent alignment with no scuffing or lifted tabs |
Curling edges, mismatched color runs, exposed fasteners |
|
Ridge and hips |
Ridge cap shingles set evenly along the peak |
Uneven spacing or a section that looks incomplete |
|
Ventilation openings |
Soffit and ridge vents clear and unobstructed |
Debris packed into intake or exhaust vent openings |
|
Gutters and downspouts |
Free of granules, shingle scraps, and stray nails |
Sludge buildup or a downspout knocked loose during work |
|
Yard and landscaping |
Beds, walkways, siding, and AC units clear of debris |
Leftover nails, torn tarps, or scuffed siding |
Ventilation deserves particular attention because it is easy to overlook from the ground. According to the U.S. Department of Energy’s attic ventilation guidance, a dry and properly ventilated attic helps avoid moisture damage and supports the roofing system’s long-term performance, which makes confirming that intake and exhaust vents were not covered or blocked during installation a worthwhile part of any walkthrough.
How to Conduct a Final Walkthrough Before Paying a Roofing Contractor
A structured walkthrough takes roughly thirty to forty-five minutes for most residential roofs and follows a consistent sequence from the ground up.
Step 1: Start With a Ground-Level Perimeter Check
Walk the full perimeter of the home before looking at the roof itself. Check that landscaping, siding, walkways, and any outdoor equipment near the roofline are undamaged and free of debris.
Step 2: Review Roof-Level Photos With the Project Foreman
Most homeowners cannot safely climb onto a finished roof, so ask the foreman to walk through progress photos of the underlayment, ice barrier, and flashing installation taken before the shingles went on. These images confirm what is underneath the visible surface.
Step 3: Check the Attic for Daylight Gaps and Ventilation
If the attic is accessible, look for daylight coming through the decking and moisture stains around penetrations, and confirm that ridge and soffit vents were not blocked by insulation or debris during the work.
Step 4: Confirm Cleanup Verification Is Complete
Ask whether a magnetic nail sweep was run across the driveway, yard, and any parking areas, and confirm gutters were cleared of granules and shingle debris before the dumpster leaves the property.
Step 5: Walk Through the Written Punch List Together
Note any outstanding items in writing, whether that is a loose flashing piece, a section of ridge cap that looks off, or a spot the crew missed during cleanup. A verbal promise to “come back and fix it” should always be documented.
Step 6: Collect Paperwork Before Releasing Final Payment
Confirm the itemized invoice matches the original contract, and request material documentation along with details on how to complete manufacturer warranty registration.
READ MORE: What Happens During a Roof Replacement? A Hudson Valley Homeowner’s Step-by-Step Guide
What Can Affect a Punch List Item or Follow-Up Repair
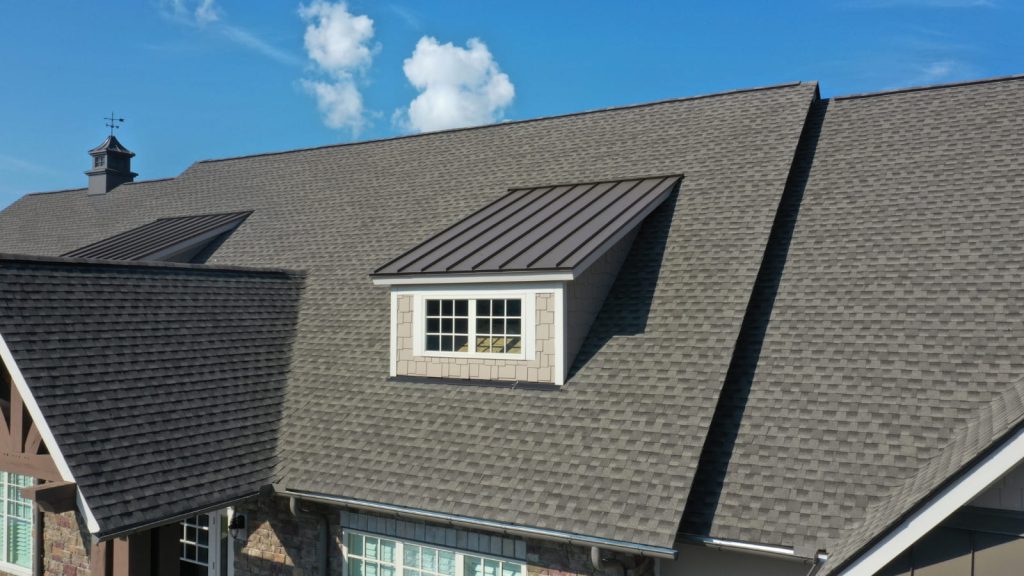
If the walkthrough surfaces an item that needs correction beyond a quick fix, the scope of that follow-up work can vary depending on several factors. Costs for any additional repair are not fixed and depend on the specific situation, the materials involved, and how the roof was originally scoped.
Factors that can influence a follow-up repair estimate include:
- Roof size, pitch, and the number of valleys or transitions involved
- The specific material installed, such as asphalt shingles versus metal panels
- Accessibility of the affected area and any equipment needed to reach it
- Whether decking or structural components are involved beyond surface-level work
- Seasonal weather conditions and how they affect scheduling
- The urgency of the repair relative to the contractor’s current workload
A roofing contractor near you should be able to walk through these factors directly rather than quoting a fixed number sight unseen. For an accurate picture of what any follow-up item may involve, request a personalized assessment.
When Should You Call a Professional Roofing Contractor?
Any issue found during a walkthrough that goes beyond cosmetic touch-ups, such as active moisture intrusion, exposed decking, or a section that was not sealed correctly, should be evaluated by a qualified roofing professional before final payment is released. These are not conditions a homeowner should attempt to assess or correct independently.
If the original contractor is unresponsive to punch list items, or if a homeowner suspects the workmanship does not match what was contracted, a second opinion from a licensed and insured roofing company near you can confirm whether the concern is minor or requires further correction.
Frequently Asked Questions
Should I pay a roofing contractor before the final walkthrough happens?
No. Final payment should be held until the walkthrough is complete and any outstanding items have been documented and addressed. New York consumer protection guidance specifically recommends withholding final payment until the entire project is finished to the homeowner’s satisfaction.
What is a roofing punch list?
A punch list is a written record of unresolved or incomplete items identified during the final walkthrough, such as a loose piece of flashing or an area that still needs cleanup. It gives both the homeowner and the contractor a clear, documented reference for what still needs attention before the project is considered fully closed out.
How long does a final roof inspection typically take?
Most final walkthroughs on a standard residential roof take between thirty minutes and an hour, depending on roof size and complexity. Larger homes with multiple rooflines, dormers, or valleys may take longer to review thoroughly.
Can I ask to see photos of flashing and underlayment I cannot see from the ground?
Yes. A reputable contractor typically documents these areas with progress photos during installation, since much of the flashing and underlayment work is covered by shingles once the job is finished. Reviewing these images during the walkthrough is a normal part of verifying the completed system.
What paperwork should I receive after a roof replacement is finished?
Expect an itemized final invoice, documentation of the materials installed, and instructions for completing any applicable manufacturer warranty registration. Keeping this paperwork organized helps protect coverage if a warranty claim is ever needed down the road.
Ready to Schedule a Roof Inspection or Replacement in the Hudson Valley?
Lyndsey Roofing, LLC has served homeowners throughout Poughkeepsie and the greater Hudson Valley since 2015, with a track record built on documented workmanship and manufacturer-backed protection.
Whether you need a new roof replacement, a professional inspection, or a second opinion on completed work, a straightforward assessment is the right place to start.
Related Posts