What’s in This Guide
- Where Does Ice and Water Protector Actually Go on a Roof?
- Why Ice and Water Protection Matters for a Hudson Valley Roof
- What Are the Most Vulnerable Areas on a Roof?
- How Do Contractors Decide Exact Placement?
- How Is Ice and Water Protector Installed? A Step-by-Step Overview
- What Factors Influence the Cost of Ice and Water Protection?
- When Should You Call a Roofing Contractor About Ice and Water Protection?
- Frequently Asked Questions
- Ready to Have a Roofing Contractor Evaluate Your Ice and Water Protection?
Quick Facts
- Eaves require ice barrier coverage extending at least 24 inches past the interior wall line under Section R905.1.2 of the International Residential Code, as adopted in New York State
- Valleys, chimneys, skylights, and roof-to-wall transitions rank among a roof’s most leak-prone zones, according to GAF’s own manufacturer guidance
- Poughkeepsie averages 10.8 inches of snowfall in January alone, fueling the freeze-thaw cycles behind ice dam formation
- Manufacturer instructions and local code minimums do not always match, and a qualified roofing contractor accounts for both before installation
- Skipping proper coverage at penetrations or valleys is a common cause of hidden leaks that surface months after a new roof goes on
Where Does Ice and Water Protector Actually Go on a Roof?
Ice and water protectors go beneath the shingles at a roof's most vulnerable points: eaves, valleys, roof-to-wall transitions, and around penetrations like chimneys, skylights, and vent pipes.
These are the areas where meltwater, wind-driven rain, or ice dams are most likely to force their way under the shingle field. Exact coverage depends on roof pitch, roofline complexity, and both manufacturer instructions and applicable code requirements.
A self-adhering membrane, often called a leak barrier or eave protection, is installed directly onto the roof deck before the underlayment and shingles go down. It bonds to the sheathing and seals tightly around roofing nails, creating a secondary barrier if water works its way past the shingle surface.
Why Ice and Water Protection Matters for a Hudson Valley Roof
Hudson Valley winters put roofs through repeated freeze-thaw cycling that few other regions of the country experience at the same intensity.
Poughkeepsie's coldest month, January, carries an average low near 19°F and average snowfall of 10.8 inches, conditions that set up the classic ice dam pattern: snow melts near the warmer upper roof, runs down toward the colder eave, and refreezes into a dam that backs water up under the shingles.
Ice and water protectors cannot stop ice dams from forming on their own. What it does is give the roof deck a waterproof layer at the exact spots where backed-up water is most likely to find a way in. Without it, homeowners are left relying on shingles alone, which are not designed to hold back standing water.
READ MORE: How Attic Insulation Helps Prevent Ice Dams on Poughkeepsie Roofs
What Are the Most Vulnerable Areas on a Roof?
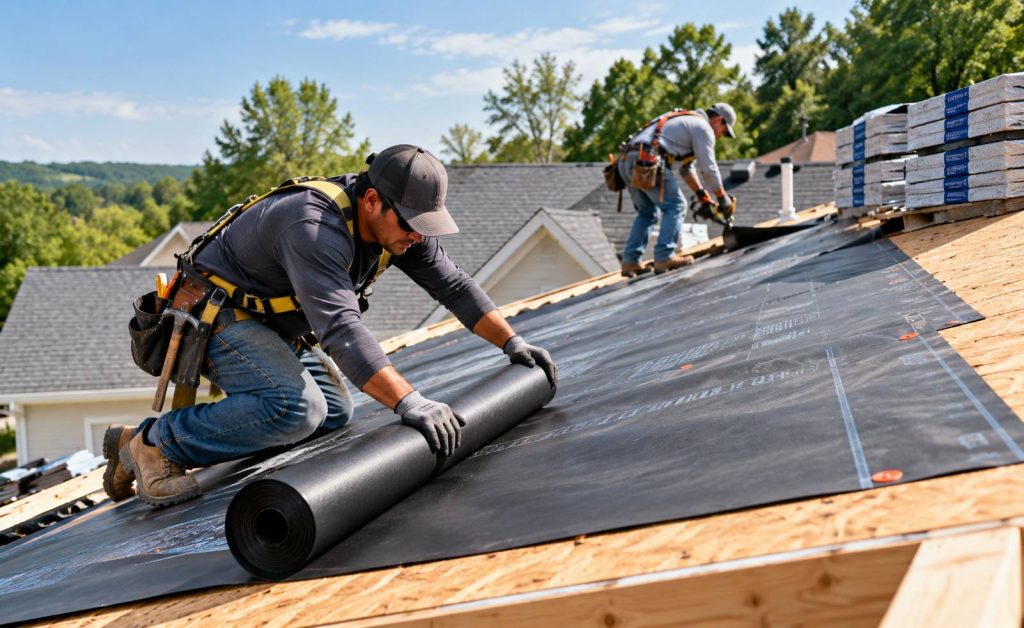
Not every square foot of a roof carries the same risk. Certain areas see far more water concentration, movement, or freeze-thaw stress than the open field of the roof, which is why ice and water protector targets specific zones rather than the entire deck in most residential installs.
Eaves
The lower edge of the roof is where meltwater collects and where ice dams typically form first. This is the single most code-regulated area for ice barrier placement, since it sits directly above the warm, conditioned part of the home.
Valleys
Where two roof planes meet, water volume concentrates as it drains from both slopes into one channel. Manufacturer guidance commonly identifies valleys as one of the top locations where a leak barrier should be installed before flashing goes in.
Roof Penetrations
Chimneys, skylights, plumbing vent stacks, and other penetrations interrupt the shingle field and create seams where water can travel sideways or backward. GAF's installation documentation notes that a leak barrier should be placed around these openings before any new flashing is installed.
Roof-to-Wall Transitions
Dormers, sidewalls, and additions where a roof plane meets a vertical wall create another transition point prone to wind-driven rain and water tracking behind flashing. These areas often see the same protective membrane extended up the wall a short distance for added coverage.
Low-Slope Sections
Porch roofs, dormer cheeks, and other low-pitch areas drain more slowly than a steep main roofline, which gives water more time to work under the shingle courses. A roofing contractor typically extends ice and water protector further up these sections than on a steeply pitched plane.
How Do Contractors Decide Exact Placement?
Placement is not a single universal measurement. A roofing contractor works through building code minimums, manufacturer installation instructions, and the specific geometry of the roof, then combines all three to determine how far the membrane extends at each vulnerable area.
Code Minimums Set the Starting Point
New York has adopted Section R905.1.2 of the International Residential Code, which requires an ice barrier in areas with a history of ice forming along the eaves. The code calls for the barrier to extend from the lowest roof edge to a point not less than 24 inches inside the exterior wall line of the building.
Roof Pitch Changes That Starting Point
A steeper roof pushes that 24-inch measurement further up the slope than a shallow one, since the distance is measured horizontally from the wall line, not along the roof surface. A contractor accounts for pitch before marking where the membrane actually ends.
Manufacturer Instructions Add to the Code Minimum
Shingle and underlayment manufacturers publish their own installation specifications, which can call for coverage beyond the code minimum, particularly in valleys, around penetrations, and at roof-to-wall intersections. Following these instructions is often tied directly to whether a roofing system qualifies for enhanced manufacturer warranty coverage.
Roof Geometry Factors Into the Final Layout
Valleys, dormers, skylights, and multiple roof planes each add their own coverage needs on top of the code and manufacturer minimums. A roof with several intersecting sections typically needs more membrane and more careful sequencing than a simple gable roof.
A Contractor Brings It All Together
Code minimums set the floor, manufacturer instructions often raise it, and roof geometry determines where extra coverage is worth adding. A roofing contractor walks the roof, notes its specific layout, and maps membrane placement against all three before installation begins, rather than applying one fixed rule to every project.
How Is Ice and Water Protector Installed? A Step-by-Step Overview
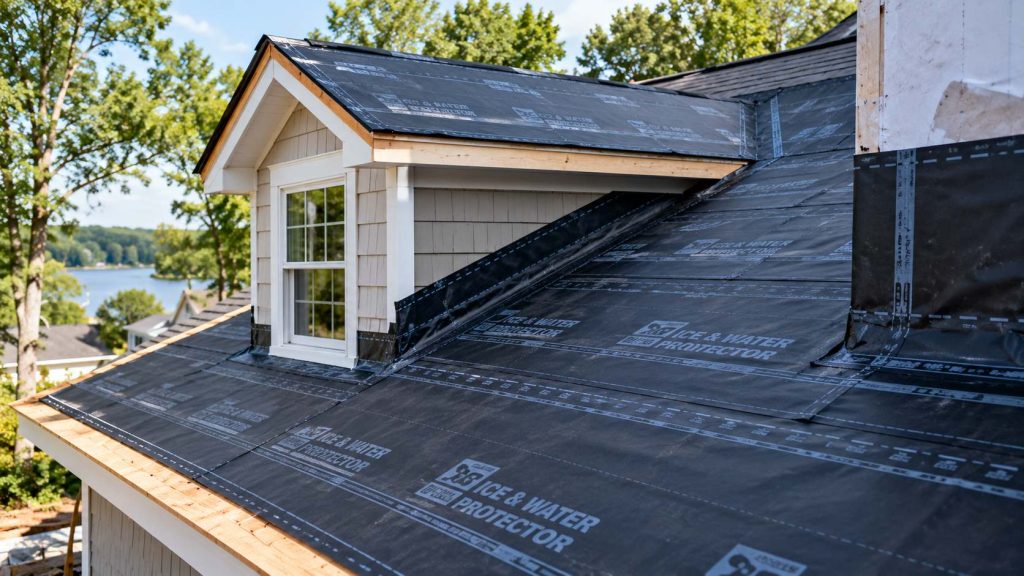
While every roof has its own layout, the general sequence a roofing contractor follows for installing ice and water protector stays consistent across most steep-slope residential projects.
Step 1: Prepare and Inspect the Roof Deck
The deck is cleared of debris and checked for soft spots, delamination, or damage before any membrane goes down. Deck condition should be evaluated first, since ice and water protectors perform poorly over compromised sheathing.
Step 2: Install Membrane at the Eaves
The self-adhering membrane is rolled directly onto the deck at the lowest roof edge, extending at least the code-required distance inside the exterior wall line, with the release paper removed to activate the adhesive bond.
Step 3: Cover Valleys and Transitions
Membrane is installed at valleys and roof-to-wall transitions, overlapping each course to prevent gaps where water could enter between strips.
Step 4: Seal Around Penetrations
Chimneys, skylights, and vent pipes receive membrane coverage before new flashing is installed, closing the gap where shingles and flashing do not fully overlap.
Step 5: Install Underlayment, Flashing, and Shingles
Synthetic underlayment covers the remaining deck, drip edge and flashing go in at the appropriate points, and shingles are installed over the completed system following the manufacturer’s nailing pattern.
What Factors Influence the Cost of Ice and Water Protection?
Roof Size and Pitch
Larger or steeper roofs typically require more material and labor, which can affect the overall cost.
Valleys and Penetrations
Roofs with more valleys, chimneys, skylights, vents, or other penetrations may need additional membrane coverage and detailing.
Coverage Requirements
The amount of ice and water protection needed depends on the roof design, local requirements, and the scope of the roofing project.
Material and Site Conditions
Material grade, roof access, and overall site conditions can also influence pricing.
Get an Itemized Estimate
Because every roof is different, a written estimate from a licensed roofing contractor is the most reliable way to understand actual project costs.
When Should You Call a Roofing Contractor About Ice and Water Protection?
During a Roof Replacement
A full roof replacement is a good time to review existing membrane coverage and determine whether additional protection is appropriate.
When Leaks Keep Returning
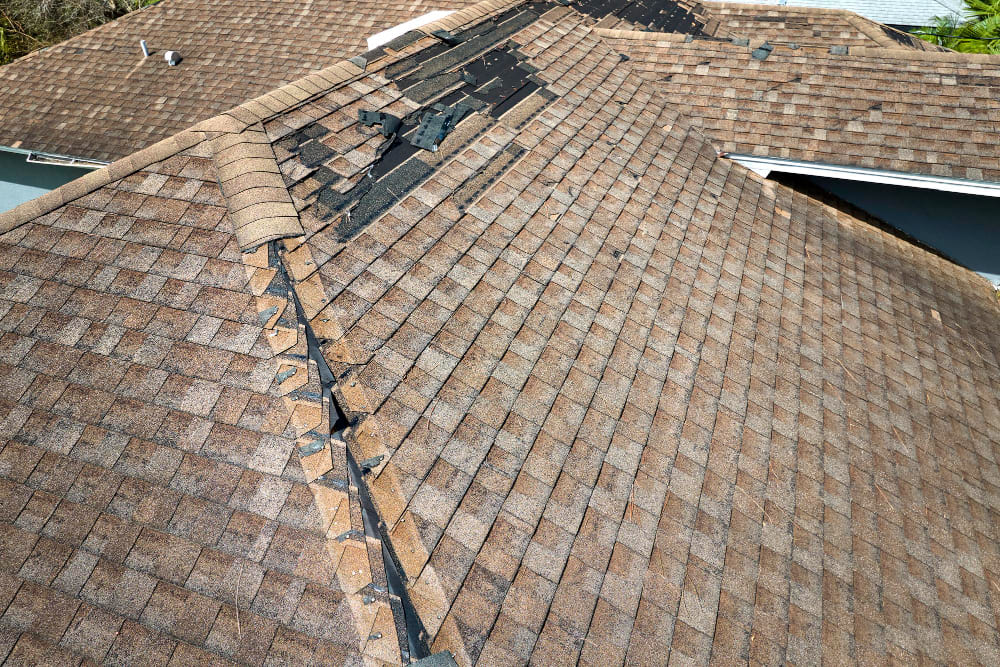
Recurring leaks near eaves, valleys, chimneys, or skylights may indicate problems with the existing underlayment or flashing system.
When Ice Dams Form
Repeated ice buildup along the roofline can signal that the roofing system, attic ventilation, or insulation should be evaluated.
When Existing Protection May Be Aging
Older roofing systems may have worn or limited membrane coverage beneath the shingles.
When Multiple Issues Are Involved
A roofing contractor can assess the roof deck, ventilation, insulation, and membrane placement together to identify contributing factors.
Frequently Asked Questions
Does every home in the Hudson Valley need ice and water protector?
Most homes in the region benefit from some level of ice and water protector, since freeze-thaw winters create real risk at eaves, valleys, and penetrations. Exact coverage still depends on roof design and local requirements, so a roofing contractor should confirm what a specific home needs.
Is ice and water protector the same as roofing underlayment?
No. Ice and water protector is a self-adhering membrane placed at specific vulnerable areas, while underlayment covers the broader roof deck as a separate layer. The two work together, but one does not replace the other.
Can ice and water protector be added during a repair, or does it require a full roof replacement?
In some cases, smaller sections near a leaking valley or penetration can be addressed during a repair rather than a full tear-off. Whether that approach makes sense depends on the extent of the damage and is best confirmed by a roofing contractor.
How long does ice and water protector typically last on a Poughkeepsie roof?
Ice and water protectors are generally built to last alongside the roofing system installed above them, though actual lifespan can vary by product and installation conditions. A roofing contractor can check its condition during a roof inspection or replacement.
How can a homeowner tell if their roof already has ice and water protection installed?
Not without an inspection. Since the membrane sits beneath the shingles, a roofing contractor typically needs to check at the eaves or during a tear-off to confirm what protection, if any, is already in place.
Ready to Have a Roofing Contractor Evaluate Your Ice and Water Protection?
Lyndsey Roofing, LLC is a GAF Master Elite and President’s Club 2-Star Certified Contractor serving Poughkeepsie and the greater Hudson Valley, including Dutchess, Orange, Putnam, and Eastern Ulster Counties. Our team evaluates eaves, valleys, penetrations, and transitions together as part of every roof replacement and repair estimate.
A roofing contractor can confirm the right ice and water protector placement for your specific roofline before work begins.
Related Posts