What’s in This Guide
- What Happens During a Roof Replacement, From Start to Finish?
- Before the Crew Arrives: Inspection, Estimate, and Planning
- What to Expect on Installation Day
- How Daily and Final Cleanup Works
- What Documents You Should Receive After Completion
- Frequently Asked Questions
- Ready to Plan Your Roof Replacement?
Quick Facts
- Inspection comes first, checking decking, flashing, ventilation, and gutters before any estimate
- Written estimates outline full scope, covering materials, tear-off, disposal, and site access
- Installation follows a set sequence, from tear-off to decking check to shingles or metal
- Daily cleanup protects the property with nail sweeps and tarps over landscaping and gutters
- Paperwork closes the project, including invoice, warranty registration, and completion documentation
What Happens During a Roof Replacement, From Start to Finish?
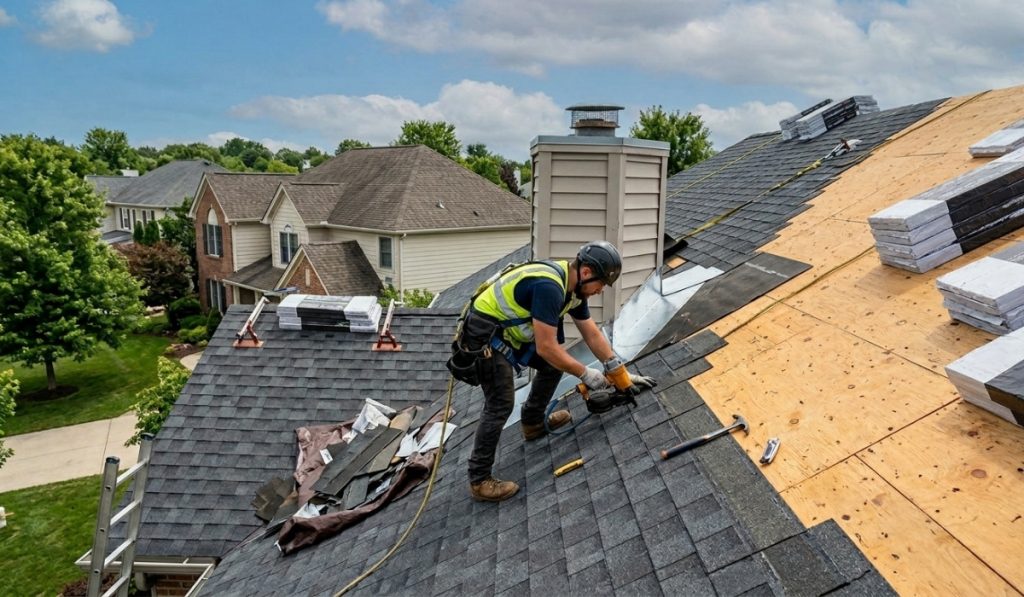
A roof replacement moves through several coordinated stages, each of which affects the timing, quality, and documentation of the finished project.
Homeowners searching for roof replacement near them are usually trying to picture this project timeline before committing to a crew on their property.
The roof replacement process typically unfolds in this order:
-
- Roof inspection and condition assessment
- Detailed written estimate
- Material selection and scheduling
- Material delivery and site setup
- Tear-off of the old roofing system
- Decking inspection and repair, if needed
- Underlayment, ice barrier, and flashing installation
- Shingle or metal panel installation
- Daily and final site cleanup
- Final walkthrough and completion paperwork
Every step matters for a different reason. Skipping the decking check can hide rot until it causes a leak years later. Rushing cleanup can leave nails in the driveway or gutters full of debris.
Before the Crew Arrives: Inspection, Estimate, and Planning
A roof replacement starts with a physical inspection, not a sales pitch. A contractor walks the roof and attic to document existing conditions before recommending any scope of work.
Roof and Attic Inspection
An inspector checks shingle condition, flashing, attic ventilation, decking firmness, and gutter condition. This walkthrough forms the basis for everything that follows in the roof replacement process.
Common Inspection Findings
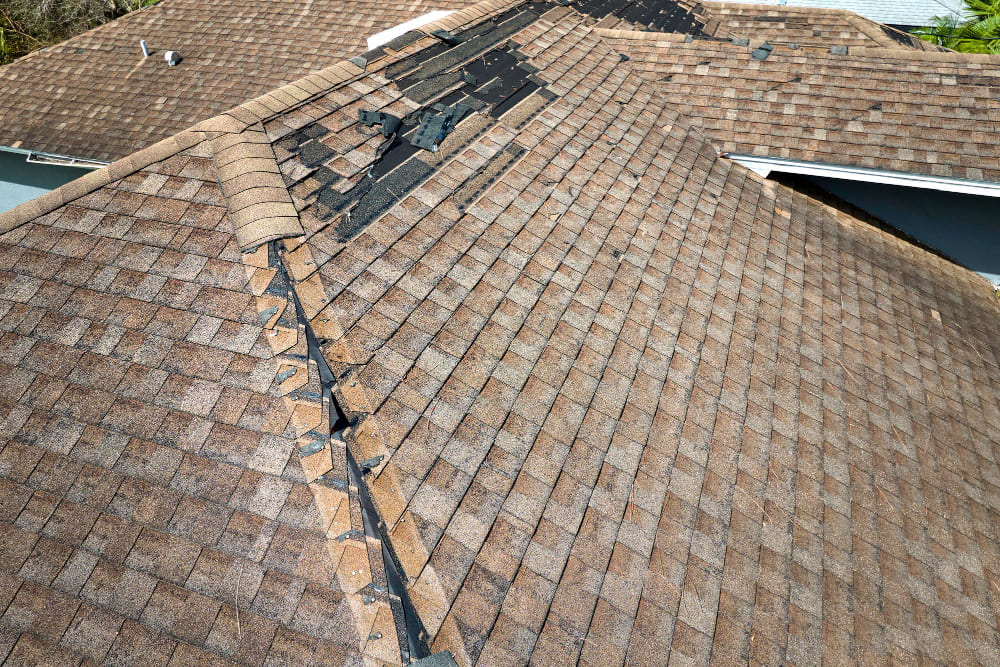
Roof inspections often identify issues such as damaged shingles, worn flashing, loose roofing components, signs of moisture intrusion, or general wear from age and weather exposure. These findings help determine the scope of any recommended repairs or replacement.
Itemized Written Estimate
A thorough estimate separates line items rather than bundling everything into one number. Tear-off, disposal, decking repair allowances, underlayment, flashing, and labor should each appear individually, along with site-specific notes on access or landscaping.
Material Selection and Permit Handling
Permit requirements vary by municipality and project scope, so the applicable rules should be confirmed with the local building department before work begins.
Scheduling and Weather Timing
Once the scope and materials are confirmed, the project gets slotted into the crew’s calendar with an eye on seasonal weather patterns. Booking during milder stretches of the year helps avoid delays tied to rain, extreme heat, or cold-weather sealing requirements.
READ MORE: How to Prepare Your Home for a Roof Replacement
What to Expect on Installation Day
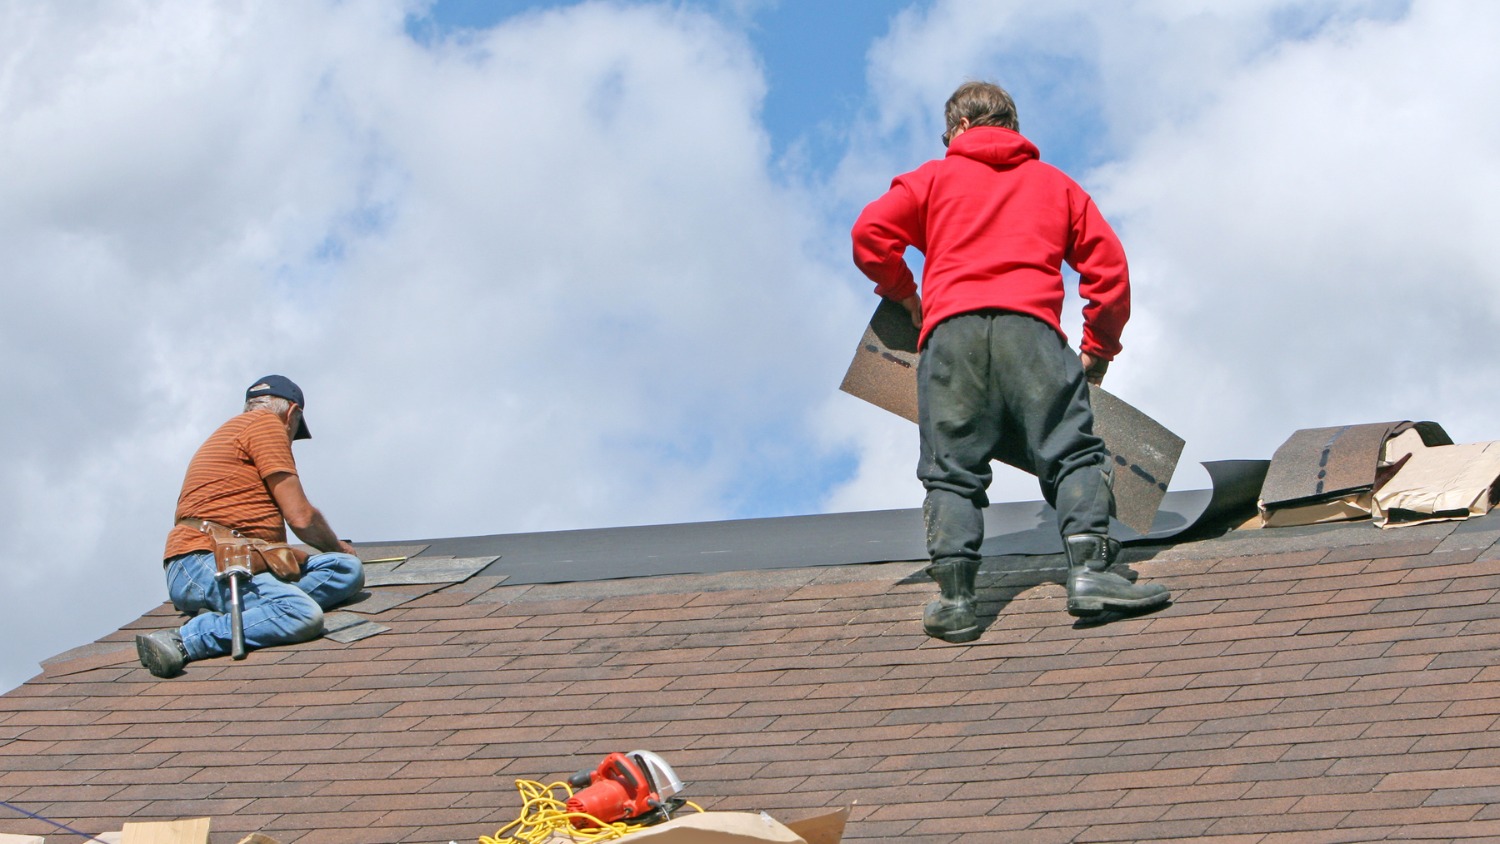
A standard residential roof replacement may take one to a few days, but the project timeline varies by roof size, pitch, material, weather, access, and site conditions.
Material Delivery and Site Protection
Materials arrive and get staged on the roof or driveway, and tarps go down first to protect landscaping and walkways. Vehicles are usually moved off the driveway ahead of time to keep delivery and dumpster placement clear.
Tear-Off of the Existing Roof
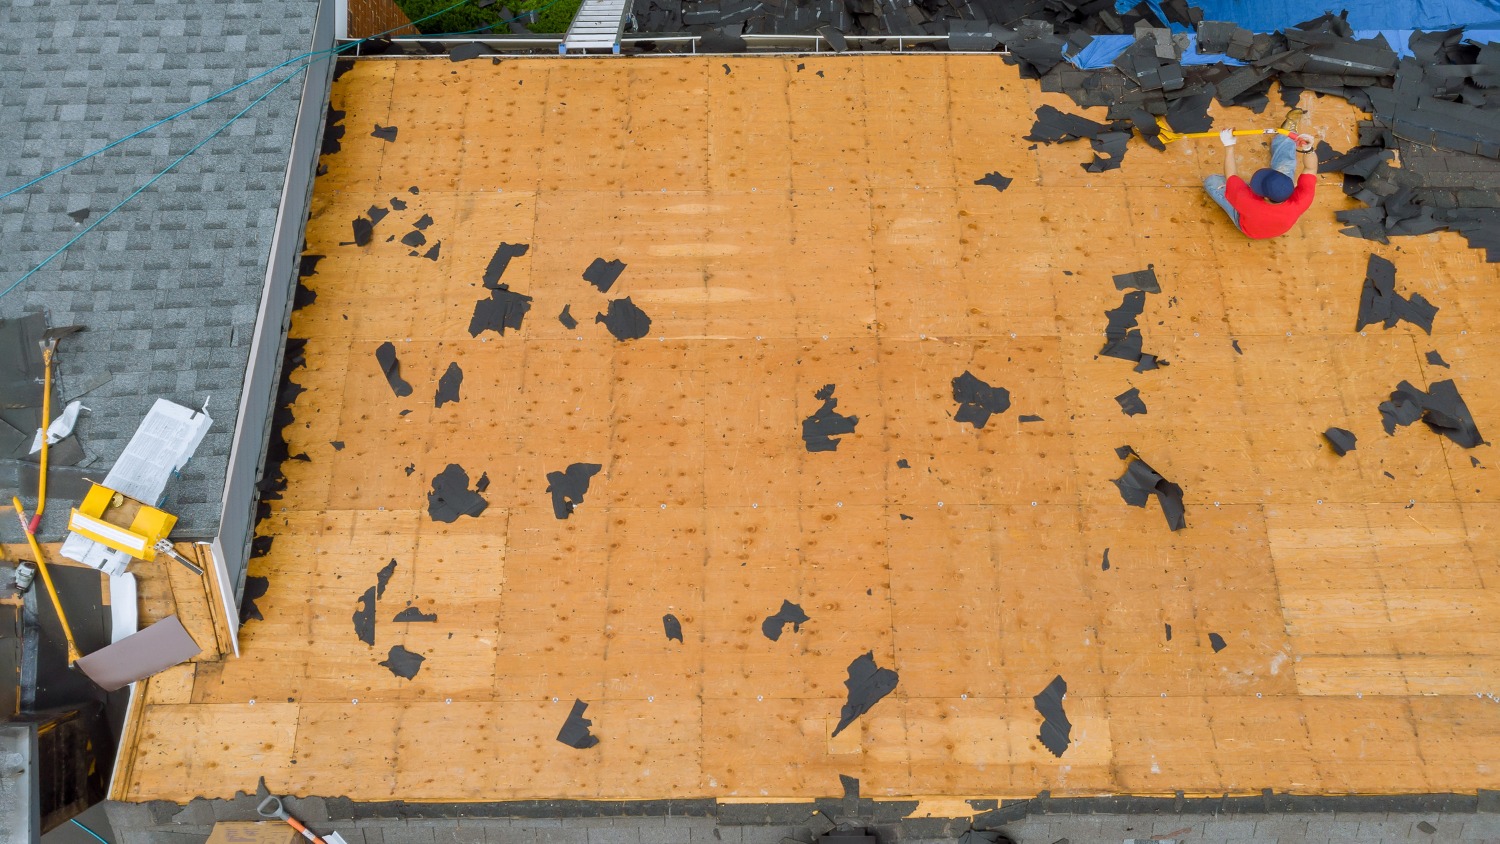
Old shingles, underlayment, and flashing come off down to the bare decking, usually worked in sections rather than all at once. This step clears the way for a full condition check underneath.
Decking Inspection and Repair
Crews check the exposed decking for soft spots, rot, or delamination, often tied to old flashing leaks or ice damming. Any damaged sections get replaced before installation continues.
Underlayment and Ice Barrier Installation
A water-resistant layer goes down next, along with ice barrier protection where required. In parts of New York with a history of ice damming, code calls for an ice barrier consisting of at least two cemented underlayment layers or a self-adhering membrane extending from the lowest roof edge to at least 24 inches inside the exterior wall line.
Flashing at Roof Transitions
New flashing is installed around chimneys, valleys, skylights, and roof-to-wall intersections. These transitions are common leak points when flashing is damaged, omitted, or installed incorrectly.
Shingle or Metal Panel Installation
Shingles or panels are installed in courses starting at the eave and working upward. Asphalt shingles generally need temperatures of at least 40°F for the sealing strip to bond, with hand-sealing used below that threshold per GAF's manufacturer guidelines for shingle installation temperatures.
Ridge Ventilation Installation
Ridge vents or other exhaust components are added near the roof peak to pair with existing intake vents. Balanced ventilation supports long-term performance and helps manage attic moisture.
Final Site Walk-Through
A last pass checks nailing, flashing, and alignment before cleanup begins. This step catches issues while the crew is still on site to correct them.
How Daily and Final Cleanup Works
Cleanup runs throughout the project, not only at the very end. A properly run crew clears debris daily rather than waiting until the job wraps.
- Magnetic Nail Sweeps: Crews run magnetic sweeps across the yard, driveway, and walkways to catch stray fasteners. This step often happens more than once per day as debris accumulates.
- Protective Tarping: Tarps are positioned to catch falling debris and shield landscaping, gutters, and siding. Placement gets adjusted as work moves across different sections of the roof.
- Debris Removal and Hauling: Old shingles, underlayment, and flashing get loaded into an on-site dumpster or hauling vehicle. Regular removal keeps the property from accumulating a large debris pile by day's end.
- Gutter Clearing: Granules and debris that settle into gutters during tear-off get cleared out. This step protects drainage function once the new roof is complete.
- Dumpster and Equipment Staging: The dumpster and material staging area stay confined to a designated zone, usually the driveway, to keep walkways and entry points clear throughout the project.
- End-of-Day Property Walk: A final visual sweep covers the yard, driveway, and roofline before the crew leaves for the day. This check helps catch anything the earlier steps may have missed.
What Documents You Should Receive After Completion

Completion paperwork protects the homeowner long after the crew leaves. A finished roof replacement should come with documentation, not just a handshake and an invoice.
|
Document |
Why It Matters |
|
Final itemized invoice |
Confirms the scope of work matches what was quoted |
|
Manufacturer warranty registration |
Confirms or activates applicable coverage, depending on the manufacturer and warranty program. |
|
Workmanship documentation |
Records what the contractor stands behind on labor |
|
Photos of completed work |
Provides a visual record, especially of flashing and ventilation details |
|
Permit closeout, if applicable |
Confirms the project passed any required municipal inspection |
Homeowners should keep these records with other home maintenance files. They matter for insurance claims, future resale, and any warranty questions that come up years down the road.
Frequently Asked Questions
How long does a typical roof replacement take?
A standard residential roof replacement may take one to a few days on-site. Larger homes, steep rooflines, or metal roofing can extend the timeline beyond a standard asphalt shingle project. Rain, cold weather, access limitations, and unexpected decking repairs may also cause delays. A contractor should provide a project-specific timeline because conditions vary from one home to another.
Do I need to be home during the roof replacement?
Homeowners are not required to be present for most of the project, though many choose to be available at the start and end of each day. A reputable crew will handle material delivery, tear-off, and installation with minimal need for homeowner involvement once the scope is agreed upon. It helps to have a way to reach the project manager if questions come up during the day. Pets are usually best kept indoors or off the property given the noise and activity involved.
What happens if my roof has hidden damage under the old shingles?
Decking damage, rot, or moisture problems are sometimes only visible once the old roofing is removed. A qualified contractor should document any hidden damage with photos and explain the repair options before proceeding. This is typically handled as a change order tied to a per-sheet or per-section repair rate rather than a surprise added to the final bill without explanation. Reputable contractors build this possibility into the original estimate as a contingency line item.
Will roof replacement disrupt my landscaping or driveway?
Some disruption is expected, but a professional crew takes steps to limit it. Tarps are placed to catch falling debris, and magnetic sweeps are used to collect stray nails from the yard and driveway. Delivery trucks and dumpsters do require driveway or curb space, so it helps to plan parking and outdoor activities around the project dates. Any protective measures for landscaping, such as covering shrubs near the roofline, should be discussed before work begins.
What paperwork should I keep after a roof replacement?
Homeowners should keep the final itemized invoice, manufacturer warranty registration confirmation, any workmanship documentation, and photos of the completed work. If a permit was required, the closeout or final inspection approval should also be kept on file. These documents matter for future home sales, insurance claims, and any warranty questions that arise years after installation. Storing them alongside other home maintenance records makes them easier to locate when needed.
Ready to Plan Your Roof Replacement?
A successful roof replacement begins with a thorough inspection and a clear understanding of your home's needs. Lyndsey Roofing, LLC helps homeowners throughout Poughkeepsie and the Hudson Valley make informed decisions with detailed evaluations, itemized estimates, and professional guidance from start to finish.
Backed by recognized manufacturer certifications and industry experience, our team provides roof replacement solutions tailored to each property's condition, budget, and long-term goals. Financing options are available for qualified projects.
Contact us to schedule a roof inspection and request a personalized roofing estimate.